Water Bath Canning for Jams and Pickles
Most fruit preserves and pickles are sufficiently high in acid to be canned via a method called water bath canning, where jars are submerged in boiling water for a prescribed amount of time. This destroys any pathogens in the food, and creates a seal, thereby rendering the jars shelf-stable.

Water Bath Canning for Jams and Pickles
Canning 101: How to Make Homemade Jams and Pickles
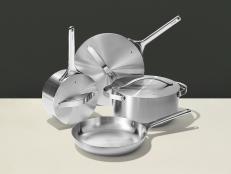
Canning requires some specialized equipment, but it is both easy to find and inexpensive. Hardware stores and some grocery stores will sell kits that have everything you need, or you can buy the items individually.
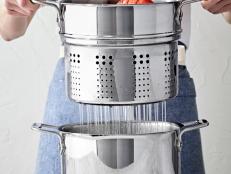
You will need a stockpot tall enough to submerge the jars with at least 1 inch of water above. Canning pots come with racks for the bottom that allow bubbles to flow out, preventing the jars from rattling against each other, and are recommended purchases. You will also need a canning funnel, a ladle, and canning tongs to move your jars in and out of the water. Optional but convenient tools include a rack to hold lids and a magnetic wand to grab lids (not pictured).
Work Clean
Before you prepare to can your preserves, you must get the jars and lids prepared. Jars should be sterilized by keeping them in simmering water (greater than 180ºF, but not boiling) for no less than 10 minutes; this is most easily done in your canning pot. In a separate pot or bowl, submerge the lids in hot, but not boiling, water for at least five minutes to soften the gaskets. Keep a kettle of boiling water on hand to top up your canning pot if necessary.
Prepare the Jars
When you are ready to can, remove each jar from the hot water with the canning tongs, using the curved side to grab the jars (the straight side is the side you grip). Set the jars near to your pot of jam or pickle brine. Carefully pour out the hot water back into the canning pot. Turn up the heat and bring your canning pot to a boil.
Pack It In
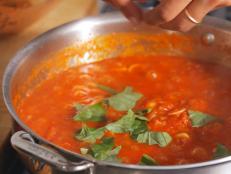
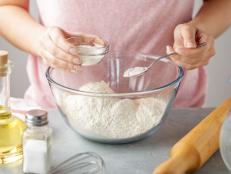
Working swiftly, ladle the jam into your jars via the canning funnel; if you are pickling, pack your vegetables into the jars, and pour the brine over. Leave 1/2” headspace, or whatever headspace is recommended for your recipe. The empty space is important to get a good seal.
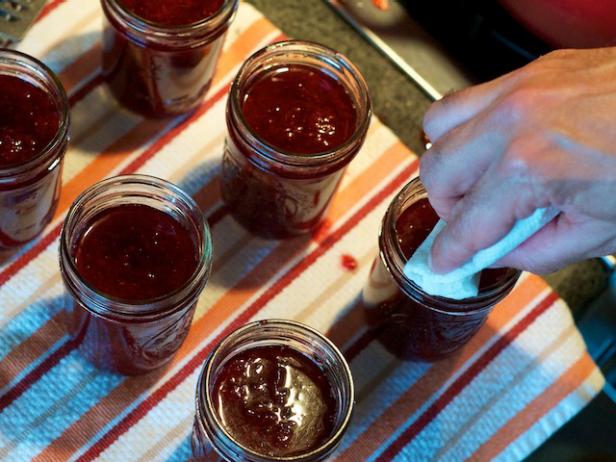
Clean the Rims
Use a moistened paper towel to wipe any jam or brine from the rims of the jars. Any matter left on the rim could compromise the seal of the lid, and cause spoilage.
Let the Air Out
Run a clean chopstick or spatula around the interior periphery of the jar. This is called bubbling, and it serves to release any trapped air in your jam. Trapped air again could compromise the seal.
Lids Go On
Remove your lids from the hot water, and set one on top of each of your filled jars. The magnetic lid wand is handy for this.
Screw on the Rings
Screw the rings onto your jars, but only until finger-tight. In other words, turn them just until they give resistance, and then give a little more. If you screw the rings on too tightly, air cannot escape, and the lids may not seal properly.
Submerge the Jars
Using the canning tongs, lift each jar, keeping it vertical, and lower it directly into the boiling water. Once all the jars are in the pot, they should be submerged by about 1” of water. If necessary, add more boiling water from your kettle. Bring the water to a full rolling boil, and process for the amount of time recommended by your recipe.
Remove the Jars
When your processing time is up, turn off the heat. Using your canning tongs, carefully lift each jar vertically up and out of the pot, making sure not to slosh the contents, which could interfere with the seal of the lid.
Allow to Cool
Place each jar on a cooling rack or towel. Do not set jars directly on a counter or other cool surface as the temperature differential can shock the jar and cause breakage; also make sure the jars are not in a place with a lot of cold airflow. Allow the jars to sit for at least 12 hours undisturbed. You should hear pinging noises within a few seconds or minutes as the lids flex and seal. Once completely cooled, remove the rings. You should be able to pick up the jar from the lid without the ring. If any lids do not seal, reprocess using the same method, or store in the refrigerator and simply consume. Store sealed jars in a cool, dark place without the rings for up to a year.