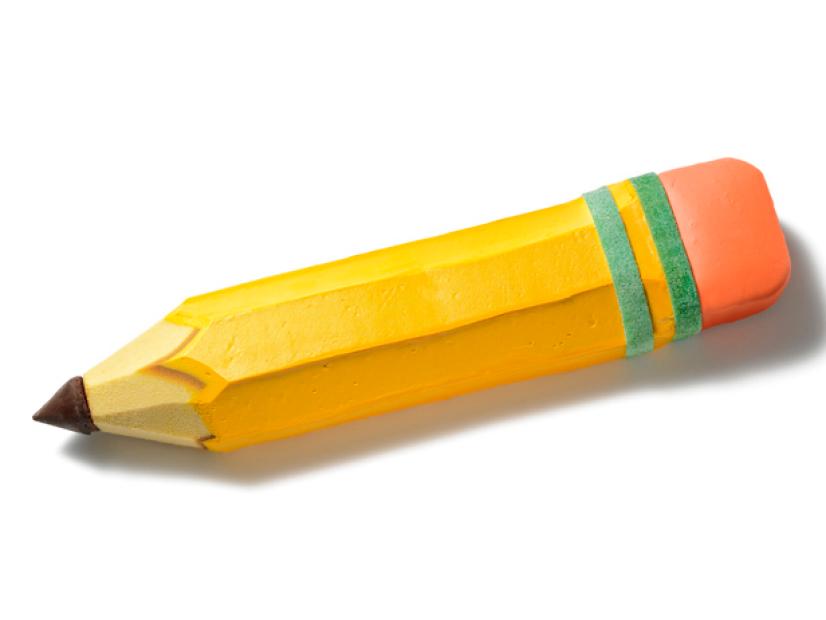
Recipe courtesy of Food Network Kitchen
From:
Food Network Magazine
Pencil Cake
Getting reviews...
- Level: Easy
- Total: 1 hr 20 min
- Prep: 1 hr 20 min
- Yield: 10 to 12 servings
-
- Nutritional Analysis
- Per Serving
- Serving Size
- 1 of 12 servings
- Calories
- 442
- Total Fat
- 18 g
- Saturated Fat
- 5 g
- Carbohydrates
- 68 g
- Dietary Fiber
- 1 g
- Sugar
- 51 g
- Protein
- 4 g
- Cholesterol
- 50 mg
- Sodium
- 355 mg
Ingredients
Directions
- Cut a 2-inch piece from one cake for the eraser; set aside. Trim 1/2 inch from the uncut ends of both cakes. Line up the cakes to make 1 long cake.
- Using a paring knife, score 2 lines down the length of both cakes, 1 1/4 inches in from each side. With the lines as a guide, trim the cake sides at an angle, as shown.
- Mix 1/2 cup vanilla frosting, the red food coloring and 3 drops yellow food coloring in a glass liquid measuring cup. Microwave the frosting about 20 seconds, stirring every 5 seconds.
- Make the eraser: Put the 2-inch piece of cake on a rack set over a baking sheet. Pour the warm pink frosting evenly over the cake. Chill until set, about 20 minutes.
- Microwave the chocolate chips in a resealable plastic bag (unsealed) in 5-second intervals until melted. Push the chocolate to one corner, twist the bag and secure with tape; freeze until set.
- Mix the remaining 1 1/2 cups frosting and 20 drops yellow food coloring. Frost the cake with an offset spatula, following the beveled edges.
- Make the tip: Cut one end of the cake into a tip, shaving it with a paring knife so the pencil looks sharpened.
- Remove the chocolate cone from the bag and trim the base to make it flat. Attach the chocolate tip to the pencil with frosting; attach the eraser to the other end.
- Lay the sour belts across the end of the pencil near the eraser, trimming as needed. Gently press into the frosting to secure.
