


Recipe courtesy of Food Network Kitchen
Recipe courtesy of Food Network Kitchen
Watch how to make this recipe.
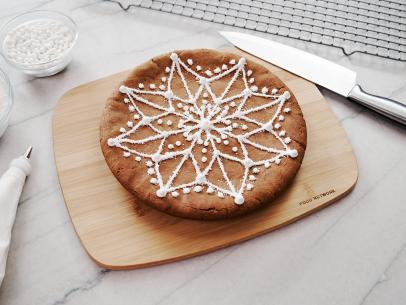
Santa Skillet Cookie
Getting reviews...
- Level: Intermediate
- Total: 2 hr 45 min
- Active: 1 hr
- Yield: 8 cookies
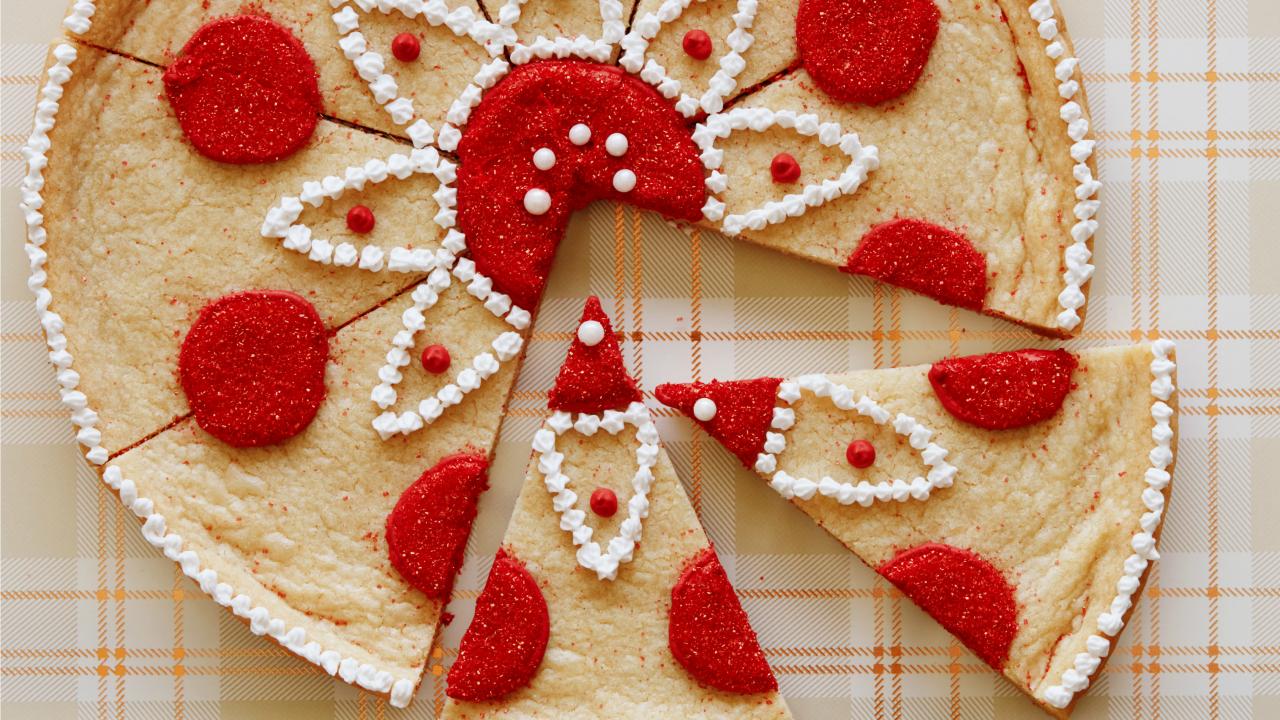
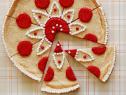
This holiday decorating project is a delicious brain teaser. "Where is the Santa?" you'll ask yourself as you pipe decorative circles and triangles over the giant sugar cookie. But then, you will suddenly see them -- eight Kris Kringles! Separate the cookie into wedges for serving, or present the entire cookie and let your guests find Santa for themselves.
- Level: Intermediate
- Total: 2 hr 45 min
- Active: 1 hr
- Yield: 8 cookies
Ingredients
Directions
Special equipment:
an 8-inch cast iron skillet, 3 pastry bags, a small no. 13 star pastry tip, a small no. 3 round pastry tip and a small no. 4 round pastry tip- Preheat the oven to 350 degrees F and generously butter an 8-inch cast iron skillet.
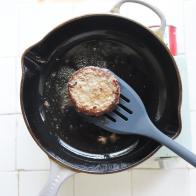
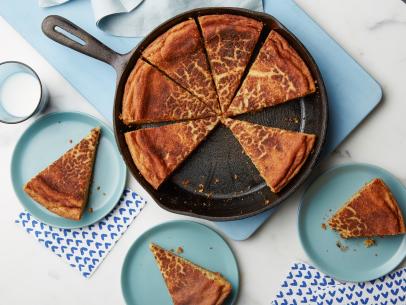
- Prepare the sugar cookie dough according to the package directions. Evenly press half of the cookie dough into the prepared skillet all the way to the edge. (Reserve the remaining dough for another use.) Bake until the top just turns golden and a toothpick inserted in the middle of the cookie comes out clean, 11 to 13 minutes. Cool in the skillet for 30 minutes. Carefully remove the cookie with a large offset spatula and place it on a cutting board.
- Cut the cookie: Heat up a small, sharp knife by submerging it in boiling water for 3 minutes. Wipe the knife dry and gently cut the cookie into 8 wedges making sure the pieces stay together in a circle. Take it slow when cutting or the cookie could crumble. Let the cookie cool completely on the cutting board.
- Meanwhile, make the royal icing: Whisk together the confectioners' sugar and meringue powder in a large bowl. Add 2 tablespoons water and beat with an electric mixer on medium-high speed until soft glossy peaks form, 3 to 4 minutes (you may need to add up to 1 teaspoon more water).
- Transfer a quarter of the icing to a pastry bag fitted with a small no. 13 star pastry tip.
- Color the remaining icing red using the food coloring. Transfer 1/4 cup of the red icing to a small bowl and add water, 1/4 teaspoon at a time, to thin it out (when you drizzle the icing with a spoon, the lines should disappear within 5 seconds). This will be your filling icing. Transfer to a pastry bag fitted with a small no. 3 round pastry tip. Transfer the remaining thick red icing to a pastry bag fitted with a small no. 4 round pastry tip.
- Decorate the cookie: Using the thick red icing with the no. 4 tip, pipe a 2-inch circle in the center of the cookie.
- With the same icing, pipe eight 1-inch circles overlapping the 8 cut lines, positioning them about 1 inch in from the edge of the cookie. Each cookie wedge should have 2 half circles on it.
- Fill in all the circles with the filling icing with the no. 3 tip. Sprinkle each circle with red sanding sugar to coat. If excess sanding sugar gets on the cookie, fan it away or brush it off with a small pastry brush. (Your Santas are taking shape: the wedges in the large center circle are hats; the smaller circles are mittens.)
- Place a dragee on the tip of each cookie wedge to form a small white circle in the middle of the red center circle. (These are the pom-poms on the Santa hats.)
- Pipe a white icing border around the center red circle. (This will be the bottom of the hats.)
- Working on one cookie wedge at a time and starting at the white border, pipe a white ?V? that fits snuggly between the 2 red half circles. Repeat with the remaining cookie wedges. You should have a white 8-point star surrounding the middle red circle. (You've just made 8 Santa beards.)
- Pipe a small dot of thick red icing with the no. 4 tip in the middle of each "V." (Now each Santa has a nose.)
- Finish by piping a white border around the edge of the cookie. (This is the bottom of each Santa's coat.)
- Let the icing dry before serving, about 30 minutes.
Looking for Something Else?


Related Pages
- Sprinkled Sugar Skillet Cookie Recipe
- Chocolate Chip Skillet Cookie Recipe
- Double Chocolate Skillet Cookie Recipe
- Snickerdoodle Skillet Cookie Recipe
- Peanut Butter Skillet Cookie Recipe
- Chewy Ginger Molasses Skillet Cookie Recipe
- Giant Skillet Cookie Recipe
- Chocolate Pecan Skillet Cookie Recipe
- Chewy Brown Sugar Skillet Cookie Recipe