Recipe courtesy of Jacques Torres
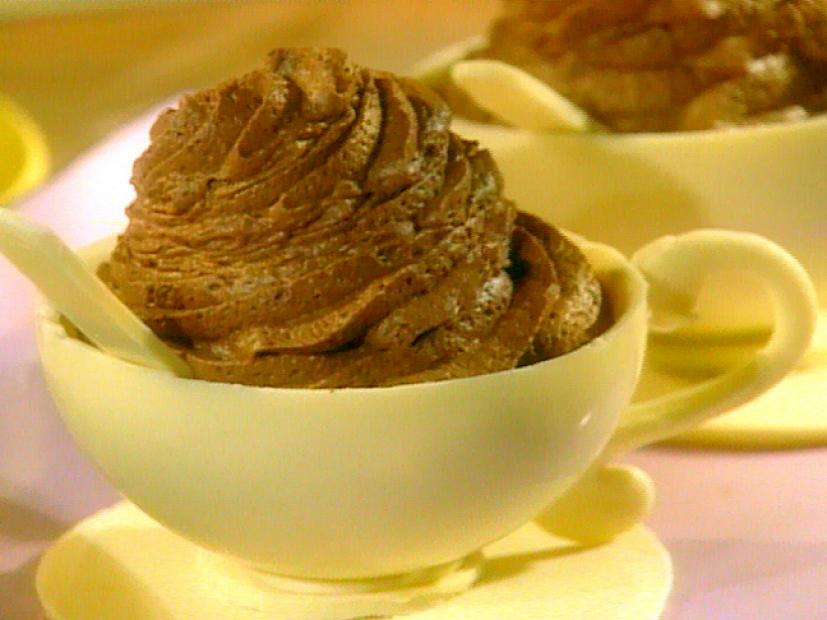
Chocolate Tea Cup and Saucer
Getting reviews...
- Level: Intermediate
- Total: 1 hr 15 min
- Prep: 20 min
- Inactive: 40 min
- Cook: 15 min
- Yield: 4 cups and saucers
- Level: Intermediate
- Total: 1 hr 15 min
- Prep: 20 min
- Inactive: 40 min
- Cook: 15 min
- Yield: 4 cups and saucers
Ingredients
Special Equipment, see source link for information:
Directions
- For the Cup: Using a ladle, fill a plastic dome-shaped mold of appropriate teacup size with white chocolate. When it is full, empty the excess back into the bowl of chocolate. The inside of the mold should be evenly coated. Wipe the lip of the plastic mold clean and place upside down on a wire rack over a baking sheet. Once the chocolate starts to harden, about 5 minutes, scrape the lip of the mold clean again with a paring knife. You can place the mold in the refrigerator for several minutes to help the chocolate to harden. When set, gently push on one side of the mold and the chocolate cup will release. Repeat to make as many cups as you would like.
- For the Saucer: Spread 1/4-inch thick layer of white chocolate onto a parchment paper lined baking sheet. Let the chocolate set until firm yet pliable but not hard. Use the tip of a paring knife to cut a 4 1/2-inch circle. If you are making more than one saucer, make all of the cuts now. Place it in the refrigerator and allow the chocolate to set completely. When set, remove from the refrigerator, and peel off the parchment paper. Set the chocolate saucer aside.
- Place some of the white chocolate in a small piping bag. Draw a small handle shape onto a parchment paper-lined sheet pan. Let the chocolate set until firm. If you are making more than one handle, make all of them at this point. Place the sheet pan in the refrigerator and allow the chocolate to set completely. When set, remove from the refrigerator. Gently lift the chocolate handle from the parchment paper. Set the chocolate saucer aside. To assemble, use white chocolate to "glue" the handle to the cup, then "glue" the cup to the saucer.
- Chocolate is tempered so that after it has been melted, it retains its gloss and hardens again without becoming chalky and white (that happens when the molecules of fat separate and form on top of the chocolate). There are a variety of ways to temper.
- One of the easiest ways to temper chocolate is to chop it into small pieces and then place it in the microwave for 30 seconds at a time on high power until most of the chocolate is melted. Be very careful not to overheat it. (The temperature of dark chocolate should be between 88 and 90 degrees F, slightly warmer than your bottom lip. It will retain its shape even when mostly melted. White and milk chocolates melt at a temperature approximately 2 degrees F less because of the amount of lactose they contain.) Any remaining lumps will melt in the chocolate's residual heat. Use an immersion blender or whisk to break up the lumps. Usually, chocolate begins to set, or crystallize, along the side of the bowl. As it sets, mix those crystals into the melted chocolate to temper it. A glass bowl retains heat well and keeps the chocolate tempered longer.
- Another way to temper chocolate is called seeding. In this method, add small pieces of unmelted chocolate to melted chocolate. The amount of unmelted chocolate to be added depends on the temperature of the melted chocolate, but is usually 1/4 of the total amount. It is easiest to use an immersion blender for this, or a whisk.
- The classic way to temper chocolate is called tabliering. Two thirds of the melted chocolate is poured onto a marble or another cold work surface. The chocolate is spread out and worked with a spatula until its temperature is approximately 81 degrees F. At this stage, it is thick and begins to set. This tempered chocolate is then added to the remaining non-tempered chocolate and mixed thoroughly until the mass has a completely uniform temperature. If the temperature is still too high, part of the chocolate is worked further on the cold surface until the correct temperature is reached. This is a lot of work, requires a lot of room, and makes a big mess.
- A simple method of checking tempering, is to apply a small quantity of chocolate to a piece of paper or to the point of a knife. If the chocolate has been correctly tempered, it will harden evenly and show a good gloss within a few minutes.
- How to Temper Chocolate(From Dessert Circus, Extraordinary Desserts You Can Make At Home by Jacques Torres):.