
Recipe courtesy of Rachael Ray
Recipe courtesy of Rachael Ray
Show:
30 Minute Meals
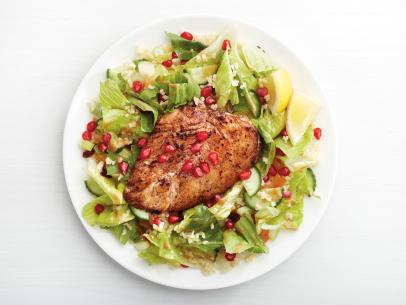
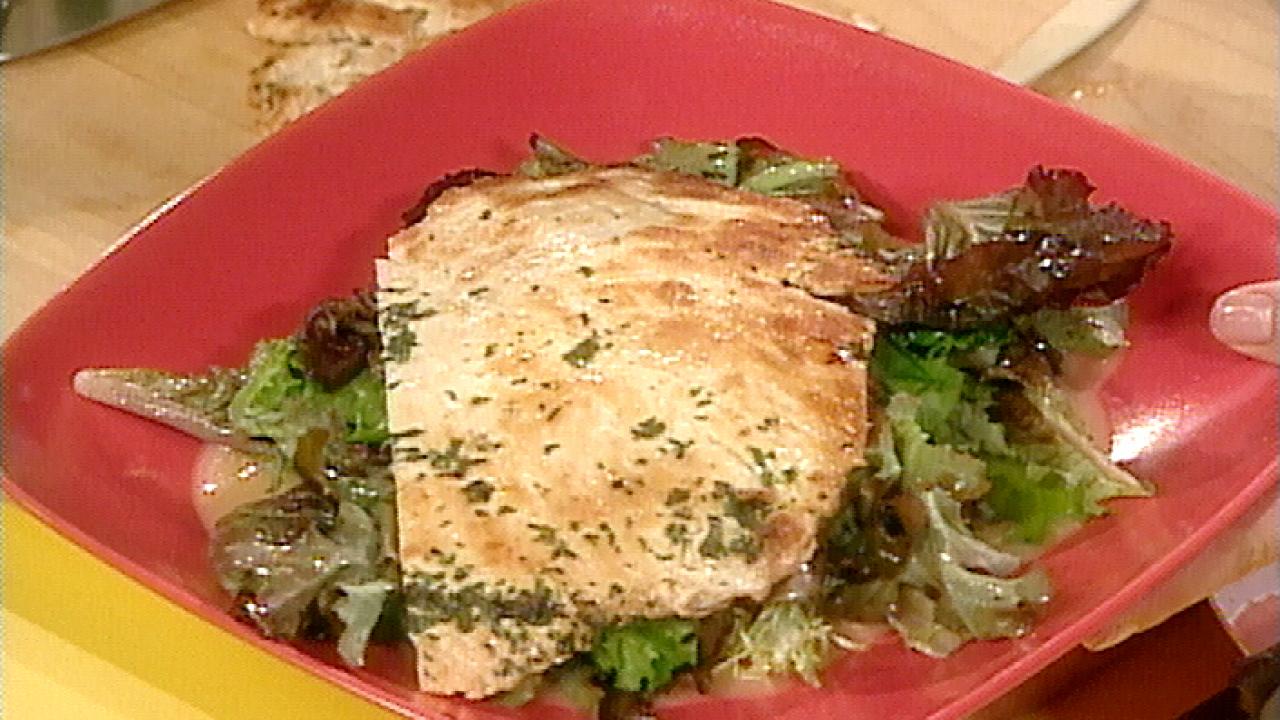
Chicken Paillard
Getting reviews...
- Level: Easy
- Total: 20 min
- Prep: 5 min
- Cook: 15 min
- Yield: 4 servings
-
- Nutritional Analysis
- Per Serving
- Serving Size
- 1 of 4 servings
- Calories
- 425
- Total Fat
- 19 g
- Saturated Fat
- 6 g
- Carbohydrates
- 10 g
- Dietary Fiber
- 1 g
- Sugar
- 2 g
- Protein
- 50 g
- Cholesterol
- 168 mg
- Sodium
- 859 mg
Ingredients
Directions
- Preheat a large nonstick skillet over medium high heat. Arrange the chicken in a shallow baking dish and drizzle meat with extra-virgin olive oil to just coat the chicken, about 1 1/2 tablespoons, total. Combine chopped herbs and lemon zest and sprinkle over the chicken. Season the chicken with salt and pepper. Using your hands, rub the chicken and coat evenly with the herbs and seasonings. Wash hands with hot water and soap. Using tongs, transfer chicken in a single layer to hot skillet and cook chicken cutlets 3 or 4 minutes on each side. Cover cooked chicken loosely with foil to keep warm and repeat with remaining cutlets.
- Return pan to heat and add butter. When the butter melts, add flour to the butter and cook, stirring with whisk, a minute or 2 to make a light roux. Whisk in chicken broth. When broth thickens to just coat the back of a spoon, remove pan from heat and turn off burner.
- Toss salad greens with lemon juice and coarse salt. Drizzle 2 tablespoons extra-virgin olive oil around the bowl and re-toss greens.
- To serve, cover the bottom of a dinner plate with warm sauce. Top with a small pile of salad greens and 2 chicken cutlets.
- *sprinkle a little water in four medium size resealable food storage baggies, place 1 chicken breast in each bag and seal it up pushing out excess air. Using the bottom of a heavy pot or pan, pound each breast until flat but not so much that it wants to bust out of the bag. Lay these down flat in your freezer. Next time you are having a hunger attack, remove your prepared chicken piallard from the freezer placing in a large bowl in the sink. Turn on the cold water over the bowl in a slow steam, you will be amazed how fast they will defrost. Once defrosted remove the bags from the water, pat them dry and with a knife or scissors cut open 2 connecting sides of the bag, and they are ready for you to prepare as per recipe directions.