


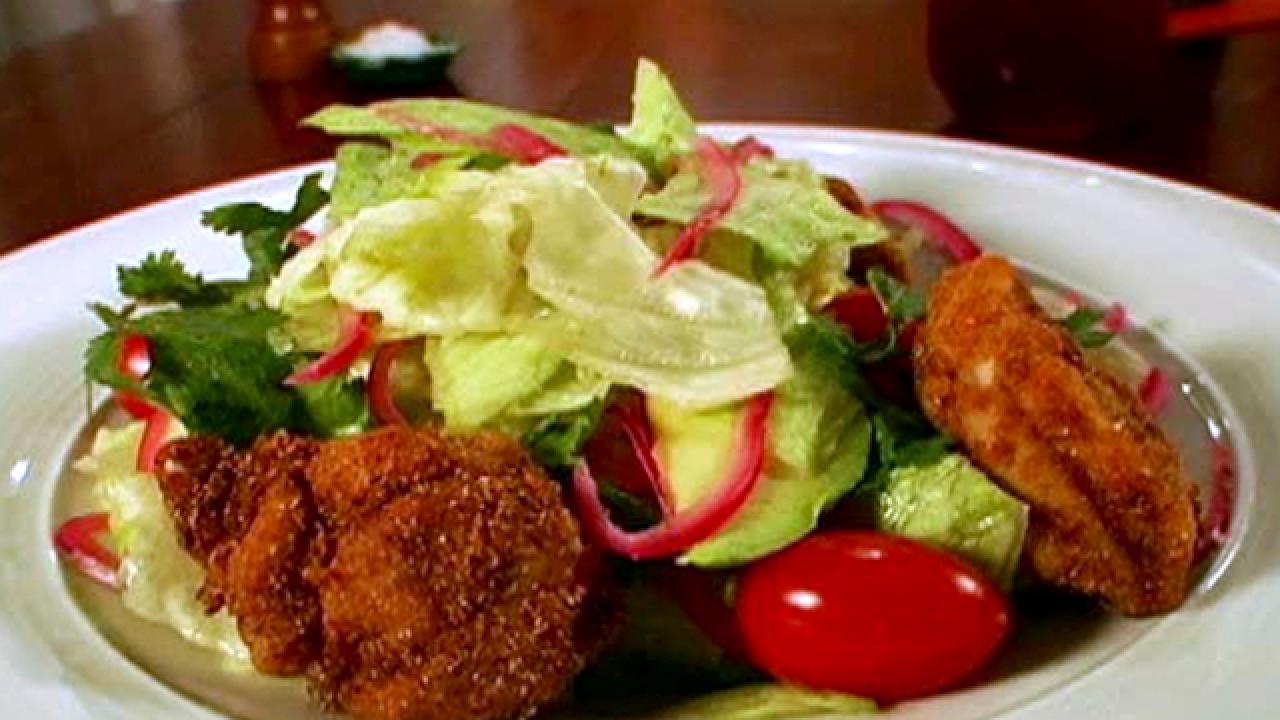
Rocco's Flash-Fried Chicken
- Level: Intermediate
- Total: 55 min (includes marinating time)
- Active: 40 min
- Yield: 4 adult lunch or dinner servings
-
- Nutritional Analysis
- Per Serving
- Serving Size
- 1 of 4 servings
- Calories
- 985
- Total Fat
- 76 g
- Saturated Fat
- 11 g
- Carbohydrates
- 49 g
- Dietary Fiber
- 10 g
- Sugar
- 6 g
- Protein
- 31 g
- Cholesterol
- 107 mg
- Sodium
- 1172 mg
Ingredients
Directions
Special equipment:
a deep fry thermometer- Place the sliced red onions in a small stainless steel bowl. With a fine grater or zester, zest the skin of 1 lime over the onions. Cut the 4 whole limes in half cross wise and squeeze the juice over the onions. Add a pinch of salt and mix. Submerge the onions in the juice; use the squeezed limes as a weight to push down any onions sticking out of the juice. Cover with a tight-fitting lid and refrigerate. Marinate the onions in the juice for as long as possible, at least 15 minutes or up to 3 days.
- Pour the oil into a large heavy pot that has at least a 6-quart capacity. (There should be at least 2 inches of oil in the pot.) Clip a deep-frying thermometer to the side of the pot and be sure the thermometer is touching the bottom of the pot. Heat the oil to 400 degrees F over medium heat (do not ever cover the pot).
- Place a chicken thigh on a cutting board and cut into 4 to 5 even-sized chunks. Repeat until all thighs are cut into chunks. Arrange all the chunks on a microwave-safe plate and season both sides with 1/4 tablespoon of adobo powder, as well as pepper. Place the plate in the microwave and cook on high for 1 minute and 30 seconds. Remove the plate and turn each piece of chicken over. Microwave again on high until the chunks are just cooked through, another 1 to 2 minutes, depending on your microwave. Let the chicken cool to room temperature.
- Put the egg whites in a bowl and beat with a fork until just foamy, about 1 minute. In a separate wide and shallow bowl or cake pan, combine the remaining 2 tablespoons of adobo powder and paprika with the cornmeal and whole-wheat flour. Mix thoroughly. Submerge the chicken pieces in the egg whites. With a fork, toss to coat. One at a time, lift the chicken pieces from the egg whites, transfer them to the flour mixture, and coat each piece thoroughly. Let the chicken sit in one layer over the flour mixture. Wash and dry your hands thoroughly prior to assembling the salad.
- Place the iceberg chunks in a bowl and add the cherry tomatoes. Drain the lime juice from the onions and reserve. To the salad, add the onions, a dash of salt, and 2 tablespoons of the reserved lime juice. Toss to dress evenly. Divide the salad among four serving plates. Divide the avocado pieces equally among the salads.
- Fry the chicken in the oil in four separate batches until deep golden brown, about 12 seconds. Using metal tongs or a stainless steel spider basket, remove the chicken pieces from the oil and transfer them to a plate with either a wire rack on top or paper towels to drain off any excess oil. (Turn the stove off immediately after your last batch.) Arrange the cooked chicken evenly around the individual salads. Place 4 cilantro sprigs over each salad. Serve with lime wedges.
Cook’s Note
For a spicy option sprinkle 1 thin-sliced red or green chili on top of the salad or add a few dashes of tobacco sauce. Microwave the limes on high for 15 seconds before you cut and squeeze them. This technique helps you get every last bit of precious juice out of each one! When cooking the chicken in the microwave, keep in mind that the chicken chunks on the outside will cook faster than the chicken in the middle of the plate. So after you flip them over from the first cooking stage, rotate the pieces from the outside of the plate to the middle of the plate before continuing to microwave. Use your oil thermometer exactly as directed by the manufacturer. Carefully monitor the temperature of the oil every 5 minutes so that it does not exceed 400 F. Do not toss the ripe avocado with the other salad ingredients, in order to keep the avocado intact. When you are done cooking, let the oil cool on the stove to room temperature. Then, using a funnel, pour the oil back into its original container and screw the cap back on for easy disposal.