


Recipe courtesy of Jacques Torres
Recipe courtesy of Jacques Torres
Episode:
Jacques Torres: Halloween Sweets
Sugar Witch's Hat
Getting reviews...
- Level: Advanced
- Total: 40 min
- Prep: 30 min
- Cook: 10 min
- Yield: 1 Witch's Hat Centerpiece
- Level: Advanced
- Total: 40 min
- Prep: 30 min
- Cook: 10 min
- Yield: 1 Witch's Hat Centerpiece
Ingredients
Directions
Special equipment:
Croquembouche mold- Place the sugar, corn syrup, and water in a 2-quart heavy-bottomed saucepan over medium-high heat. Insert a candy thermometer and cook the sugar mixture until it reaches 320 degrees F. Remove from the heat and carefully divide the cooked sugar between 2 medium-size microwaveable glass bowls. If you leave the sugar in the pan, the sugar will continue to cook and turn dark brown. A glass bowl will hold the temperature of the sugar. I put a towel under the bowl to keep the bowl from tipping over and to protect my hands from the heat of the glass. (The sugar will stay liquid enough to work with easily for about 10 minutes; after that it will start to thicken. If this happens before you are finished, just pop the bowl in the microwave for 3 to 5 minutes, until the sugar is liquid enough to work with once again.) Add a few drops of orange food coloring to 1 bowl and mix with a wooden skewer. Add a few drops of black food coloring to the other bowl and mix with a wooden skewer.
- To make the brim: Trace a large circle onto a piece of parchment paper. Turn over the paper and give it a light coating of vegetable cooking spray. Dip the tines of a fork into the hot orange sugar. Carefully but quickly wave the fork over the inside of the circle, allowing the sugar to drip off the fork in long, thin strands. Try to distribute the strands evenly around the side of the circle, making sure to come all the way to the edges of the brim. Then dip the tines of the fork into the hot black sugar. Repeat the process. You will be able to see the paper through the sugar but you want to make this layer thick. Set aside to cool, about 5 minutes.
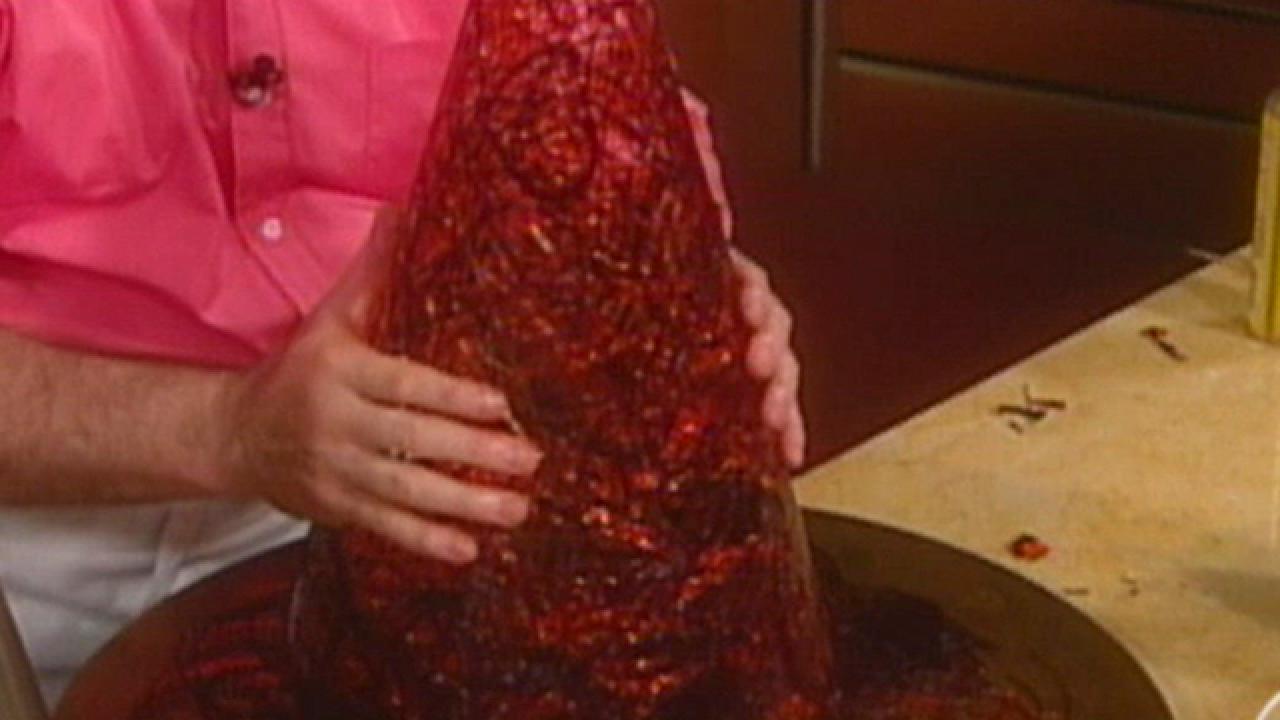
- To make the cone of the hat: Wash, dry, and lightly but thoroughly spray the clean, dry mold with the baking spray, wiping out excess with a paper towel. Dip the tines of a fork into the hot orange sugar. Carefully but quickly wave the fork over the outside of the mold, allowing the sugar to drip off the fork in long, thin strands. Try to distribute the strands evenly around the side of the mold, making sure to come all the way to the top and the brim. Then dip the tines of the fork into the hot black sugar. Repeat the process. You should still be able to see the mold through the sugar. Make a nice thick layer of sugar so the hat will be sturdy. Set aside to cool, about 5 minutes.
- To unmold, place your hands on the inside of the mold and let your fingers gently pull or slide the sugar loose from the side of the mold. You will need to apply this gentle pressure all around the inside. Keep moving the sugar as it cools. This will keep it from resticking but you need to wait until the sugar has cooled. Once the sugar has released from the mold, carefully lift it out and place it over the brim. If the sugar is still too warm, the hat may begin to collapse. That is why it is a good idea to release the sugar from the mold but leave it in the mold until it has cooled completely. (At this stage, the cage can be stored, right side up, in an airtight container in a cool, dry place for 1 to 2 days.)
- Carefully remove the parchment paper from the brim. You should be able to pull it out from under the brim. Do not worry if the brim cracks or breaks. You can use a blow torch to melt the sugar back into place. Carefully lift the cone of the hat and center it on top of the brim.
- I used a special Croquembouche mold to make my Witch's Hat because it is exactly the right shape. You do not need to buy this expensive mold to make your decoration. Use any metal or ceramic shape, preferably one that does not have outside handles or seams.
- Remember you are working with hot sugar so be sure to have a bowl of cold water ready in case you get any of it on your skin. It is best to work with sugar on a dry day, as the humidity will melt the sugar. To be on the safe side, make your sugar decoration no more than one to two hours before you are ready to serve them.


