


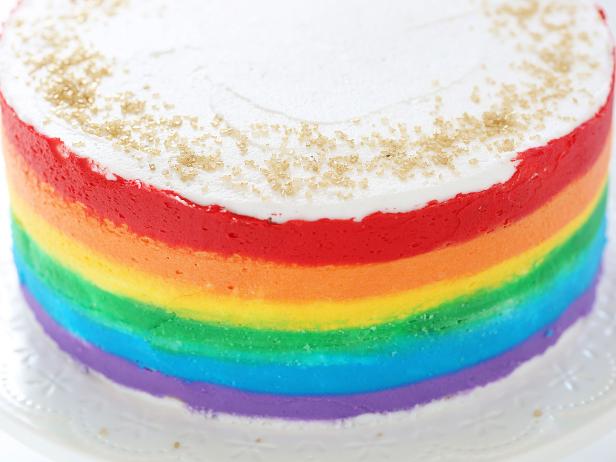
How to Make a Stunning Rainbow Cake with Gold Ombre Layers
One classic symbol of St. Patrick's Day is the pot of gold at the end of the rainbow. This cake features both: the bright colors and the mysterious gold.

One of the most-colorful symbols of St. Patrick’s Day is the pot of gold at the end of the rainbow. I set out to make a cake that incorporated a little of both: the bright, bold colors of the rainbow as well as the mysterious gold at the end!
This cake has a simple buttercream rainbow design complemented with gold sprinkles around the upper edge. But that is not where the fun ends — once you cut into the cake you will see three beautiful golden ombre layers!
Rainbow Cake with Gold Ombre Layers
Ingredients:
Quick Vanilla Buttercream, doubled
Red, yellow, blue food color
Gold sprinkles
Special equipment: Rotating cake stand or lazy Susan, three 8-inch round cake pans, cooling rack, pastry bags or plastic baggies, rubber bands, small offset spatula, scissors, bench scraper or a solid flat surface like a mudding trowel or a large offset spatula
Directions:
Prepare cake batter according to recipe.
You should have 4 cups of batter. Divide the batter between 3 medium bowls, roughly 1 1/3 cups of batter per bowl.

Add 5 drops of yellow food color to one bowl, then 10 drops of yellow food color to another. One bowl will remain white. (For an extra-deep-golden layer, add 20 drops instead of 10. You can use more or less food color to achieve your desired results.)
Pour batter into three 8-inch round cake pans that have been prepared with baking spray. Bake for 16 to 20 minutes or until cake springs back up when touched in the center and it has pulled away from the sides.
Invert cakes onto a cooling rack. While cakes are cooling to room temperature, prepare buttercream. I used the above recipe (Quick Vanilla Buttercream) and doubled it.

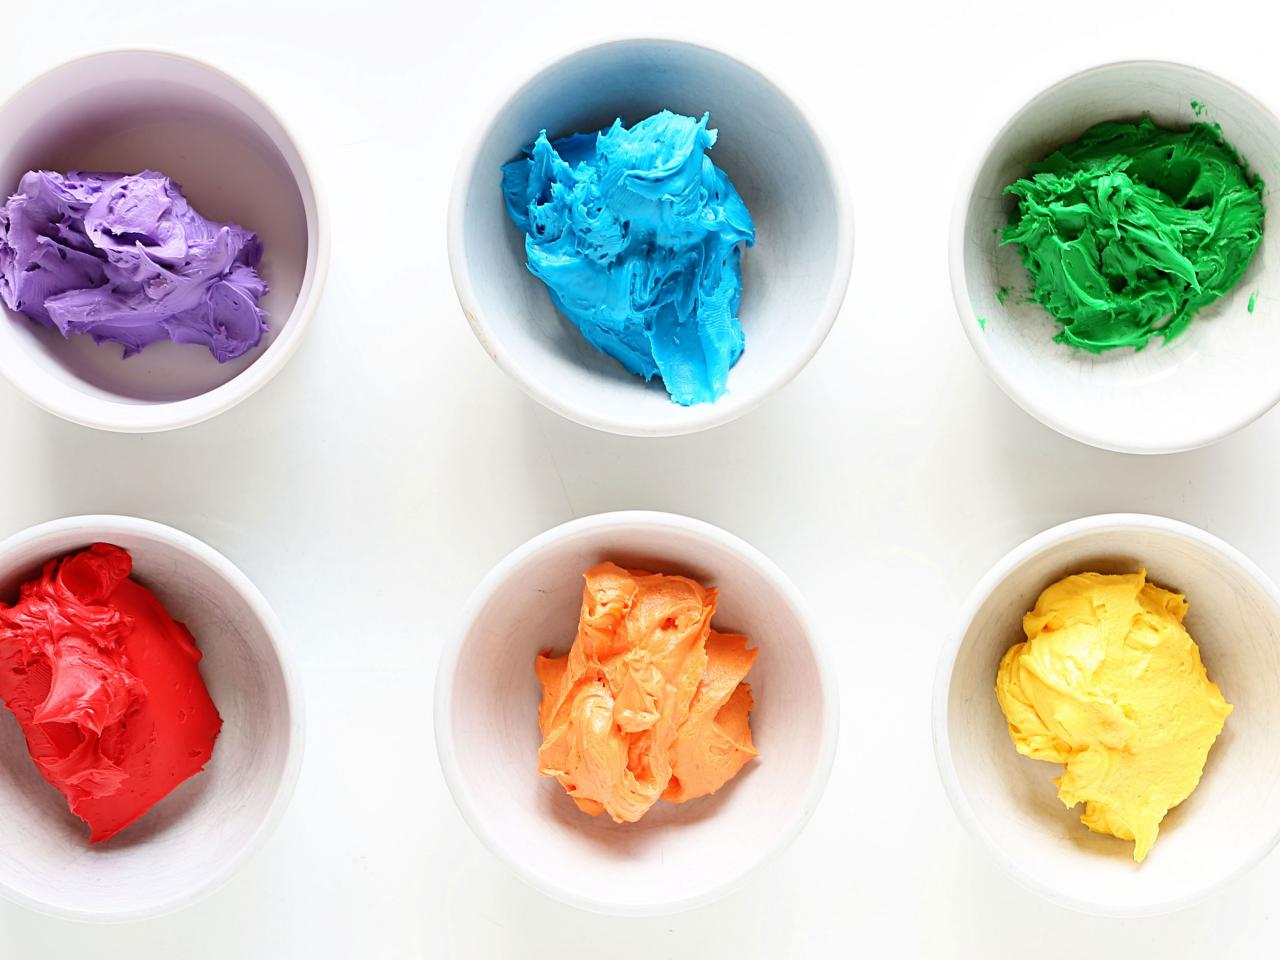
Prepare rainbow buttercream
Using 6 bowls, add 1/2 cup of buttercream to each bowl.
Red: 5 drops red food color
Orange: 3 drops yellow + 2 drops red food color
Yellow: 5 drops yellow food color
Green: 3 drops blue + 2 drops yellow food color
Blue: 2 drops blue food color
Purple: 3 drops blue + 2 drops red food color
Thoroughly mix the food color into the buttercream, then transfer to a plastic disposable pastry bag. You can also use a sandwich baggie; just make sure it is not the stand-alone type with a pleated bottom.
Secure frosting in bags with rubber band and set aside. The remaining frosting will be used to crumb-coat the cake.

Place your cake stand (or plate) directly onto rotating cake stand. Start by placing the darkest yellow cake onto the center of the cake stand. Drop 1 cup of buttercream on top of the cake. Using a small offset spatula, level the buttercream over the cake, making sure to allow the frosting to spill over the sides slightly.
Once the buttercream is level and smooth, place next layer of yellow cake on top. Drop another 1 cup of buttercream on top of that and level it in the same way you did before.
Place the final layer of white cake on the top and drop another cup of buttercream on top of that. Carefully push the buttercream over the sides of the cake so that it spills down over the sides. Start in the center of the cake and let your offset spatula gently guide the buttercream toward the edges of the cake. Once you have frosting covering the sides, place the bottom of your offset spatula flat against the side of the cake and gently move it around the cake. This will smooth out the frosting and you can remove any excess. (Do not reuse if the frosting has crumbs in it.)

This is your crumb coat. Chill cake for at least 30 minutes in the refrigerator or 15 minutes in the freezer.
Once the frosting is set, you will be covering the cake in the final (beauty) layer of frosting. Drop another cup of buttercream on top of the cake and smooth it over the cake the same way you did the crumb coat. Chill cake for at least 30 minutes in the refrigerator or 15 minutes in the freezer.
When you are ready to decorate the cake
Cut off a very small portion from one corner of the purple frosting bag (you can always cut off more if the hole is too small, so start small). Do the same with the remaining bags of rainbow frosting.
Starting at the bottom, place a dot of purple frosting at the base of the cake. Place a blue dot directly above it, then continue up with green, yellow, orange and red. You are doing this to determine spacing for your colors. If you need to adjust the spacing, gently wipe away dots and start over.

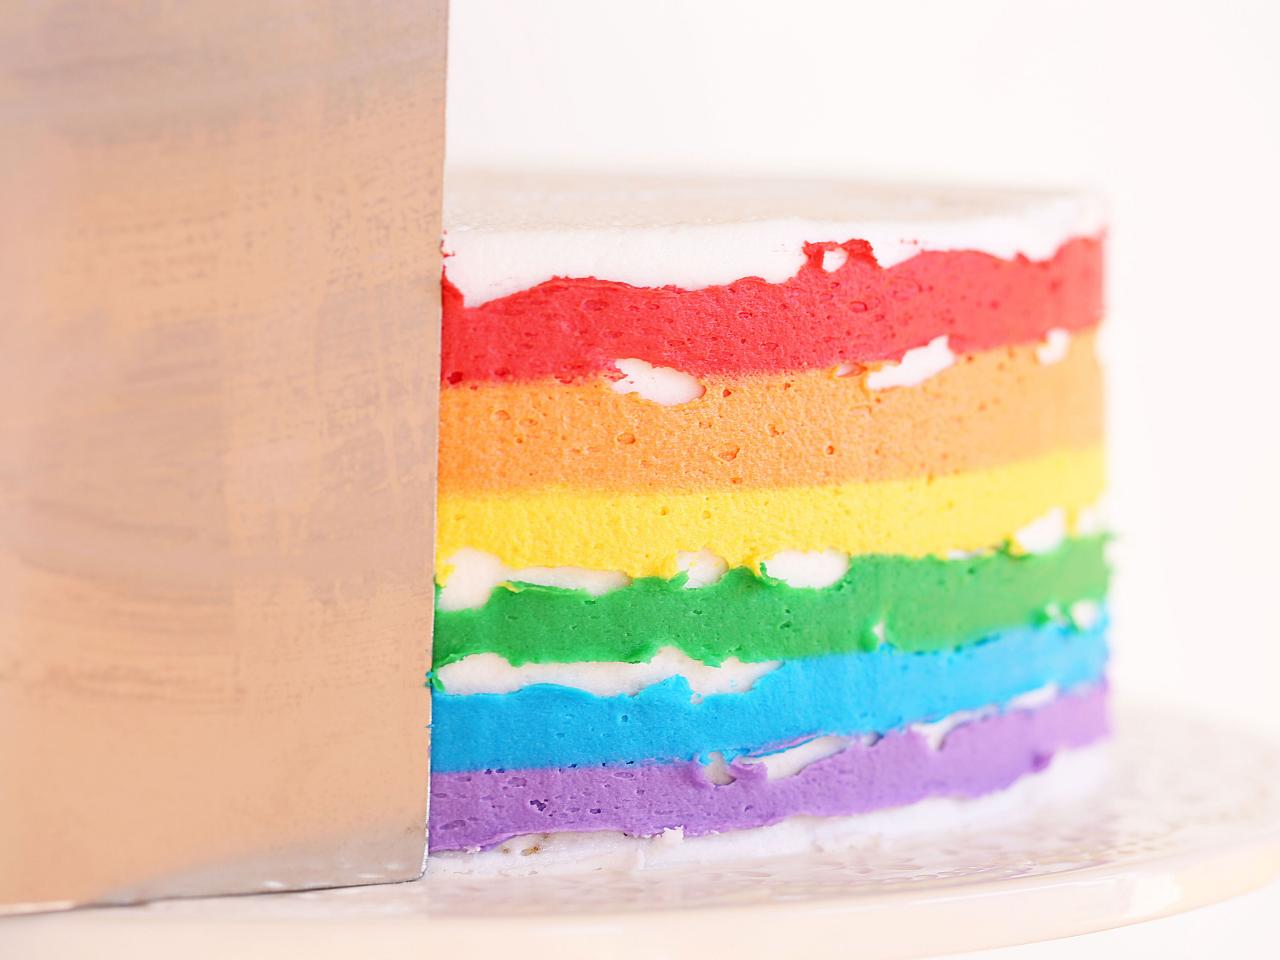
Starting with the purple, pipe out a line around the circumference of the cake. (This is where the rotating cake stand really comes in handy!) Repeat this process with the blue, green, yellow, orange, then red. Once you have all of the colors piped out, grab the bench scraper.
Hold it flat against the side of the cake, then start moving it around the cake. If you are using a rotating cake stand, hold the scraper flat against the cake, then slowly turn the cake stand with your other hand. The colors will flatten and gently blend together. Clean the bench scraper between uses.

If you see spots of white showing through, simply go back and add dabs of the color you would like to fill in with. Slowly pull the bench scraper around the cake as many times as you want, to achieve a seamless look.
Gently drop the gold sprinkles around the edge of the cake. Chill until ready to serve.
See more step-by-step photos to get the details on prepping this cake.

Related Links:
Amanda is a wife, mom, baker and creative force behind iambaker.net. She homeschools her four children, lives in the land of 10,000 lakes and is self-appointed president of the Committee to Get Ina Garten on Twitter. (Amanda tweets at @iambakertweets)


