


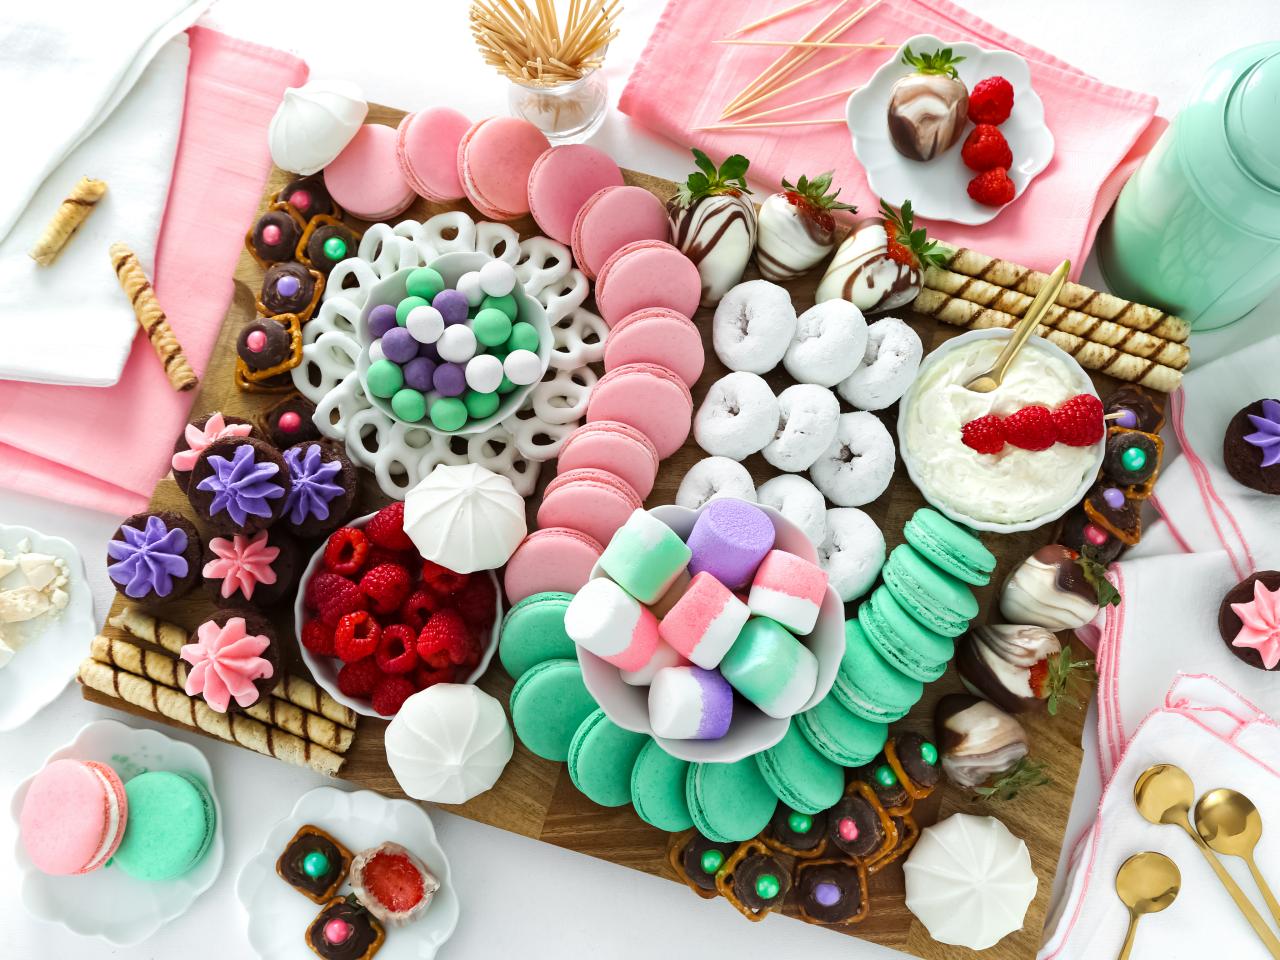
How to Make a Lovely Dessert "Charcuterie" Board
These boards trade meats and cheeses for sweet treats, and they're so much easier to put together than you think.


Heather Baird SprinkleBakes.com
A dessert board is a fun and artful way to present a sweet course while offering loads of variety. Whether you’re entertaining a crowd or plannng a fun family meal, these arrangements are easy to fancy-up or make casual.
The size and assortment of sweets can be customized to fit your guest list and budget easilty. And organizing so many elements together may look daunting, but it won't be if you embrace ingredients that need little prep work. Most of the items used here can be purchased at the grocery store and assembled in advance, so you can enjoy grazing with your guests instead of spending time in the kitchen.
Use this guide to style your board, along with our suggestions for ready-made and quick fix desserts.
Heather Baird SprinkleBakes.com
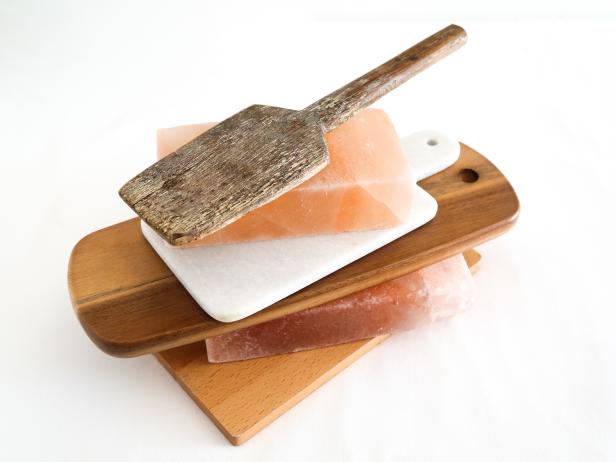
Pick a Board
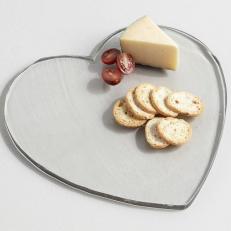
Any wooden cutting board, marble server, or ceramic platter can be used as the blank canvas for your composition of sweets. Depending on the size of the gathering, it can be small or large — you'll need a fairly sizeable one to make an impact with lots of different goodies, though. Formal occasions may call for a big board filled with a wide array of nibbles and noshes; intimate gatherings call for a smaller surface and scaled-back quantities. Choose a board that will make your assortment look plentiful, while also giving sweets space to shine without overcrowding.
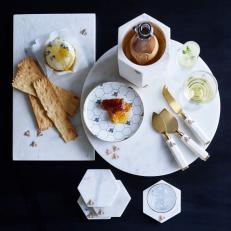
Pretty Boards to Try

Shop for Sweets
A little smart shopping will save you time and effort while creating a cost-effective board.
Heather Baird SprinkleBakes.com
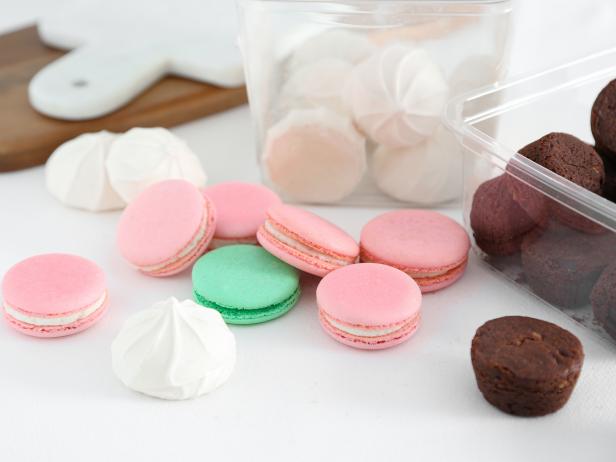
Start With the Supermarket's Bakery
The in-store bakery at your neighborhood grocery store can be a great source of fresh baked goods that taste homemade. Brownie bites and meringues will give your display contrasting textures of chewy and crunchy. Colorful macarons, often sold from the pastry case, will add a fancier touch. Other well-loved items from this section include madeleines, lady fingers, and mini muffins, which are all good choices to fill space on a board.
Heather Baird SprinkleBakes.com
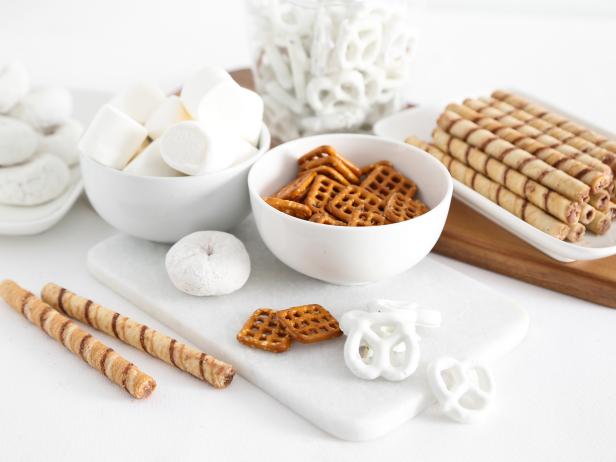
Head to the Snack Aisle
Salty, sweet, crispy, crunchy, and chewy — they can all be found in the snack aisle! Items such as yogurt dipped pretzels and rolled wafer cookies provide a way to add shapes and patterns to the display, all while tasting terrific! Bagged mini powdered donuts are always a crowd favorite and small enough to pile on a board without taking up too much space. Pretzels and marshmallows are good dippers for any sweet condiments.

Heather Baird SprinkleBakes.com
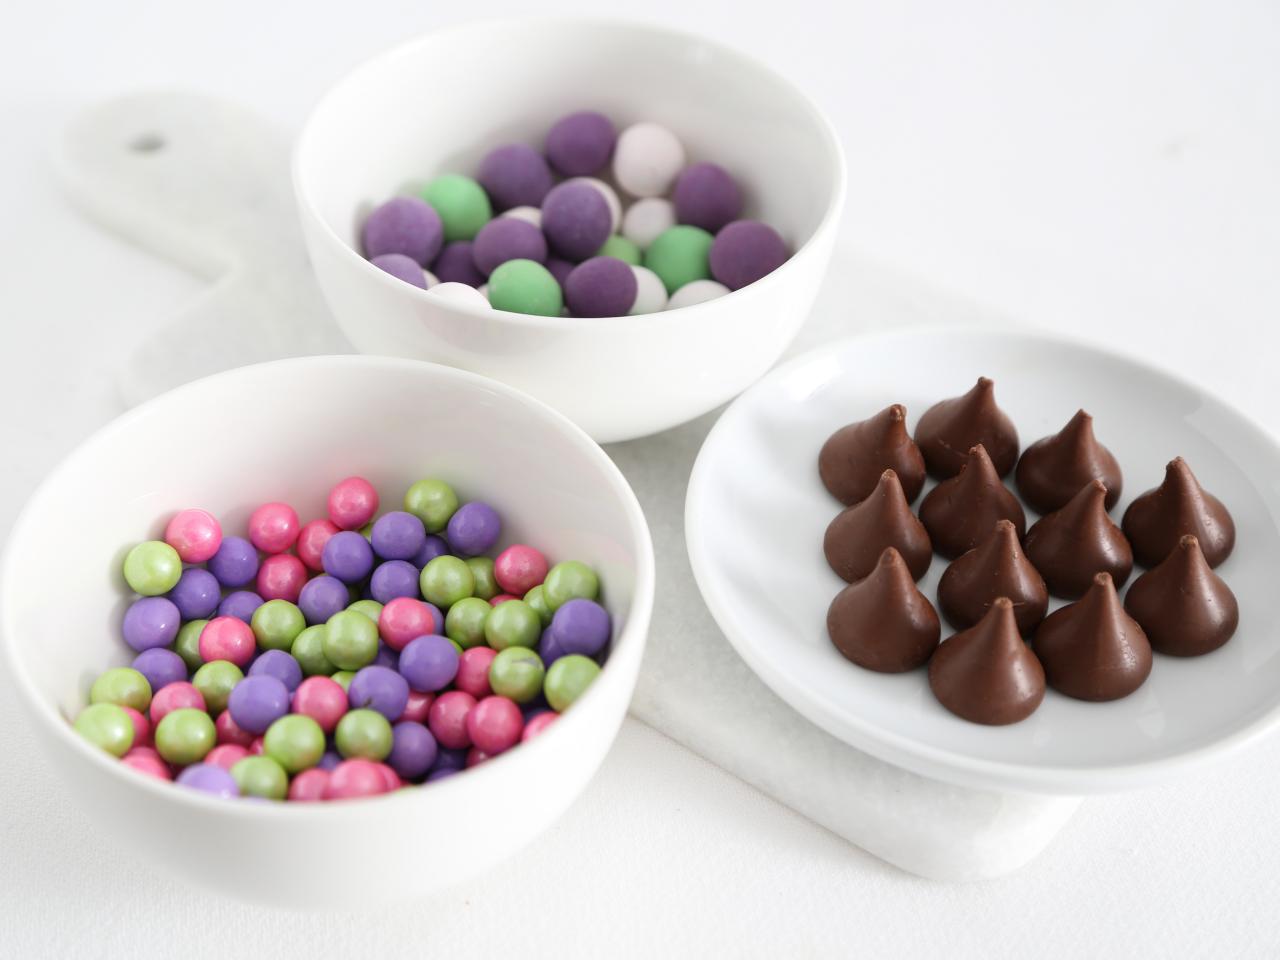
And the Candy Aisle, Of Course
Candies of every color and stripe can be found in the candy aisle and the seasonal aisle at the grocery store. Smaller candy pieces are best presented in little bowls or ramekins on the dessert board and will add an extra pop of color. Add unwrapped dark chocolate drops for easy snacking and intense chocolaty flavor.
Heather Baird SprinkleBakes.com
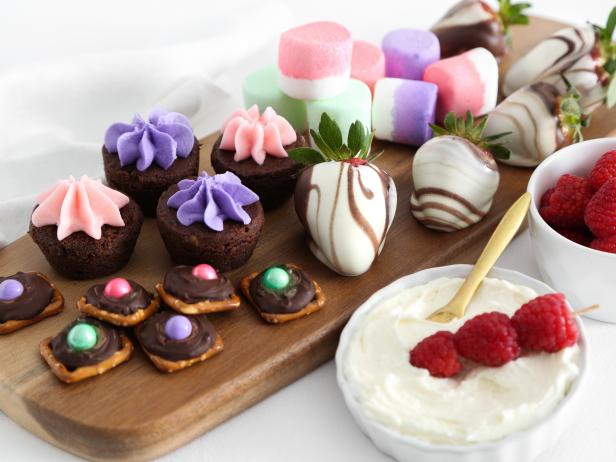
Do a Little DIY — Just a Little!
Make your board feel totally custom with a just few elements you can easily prepare yourself. We've got a few ideas semi-homemade desserts are easy to assemble and can be prepared well in advance. Here's how to make these adorable treats.
Heather Baird SprinkleBakes.com
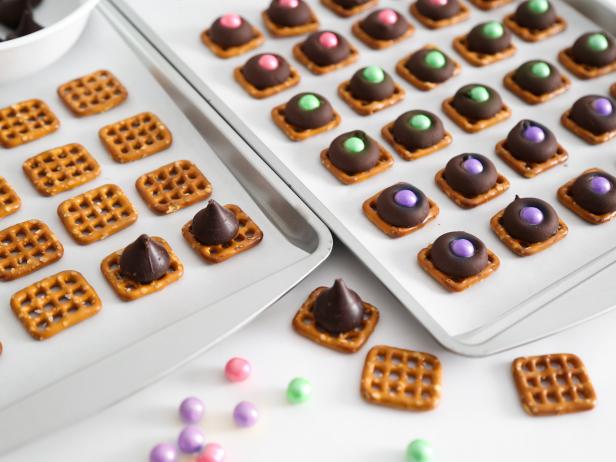
Pretzel Buttons
These salty-sweet bites will really up the cute factor! Lay mini pretzels on a parchment lined baking sheet and place a dark chocolate drop flat side down on each pretzel. Bake at 350 degrees F for 2-3 minutes until the chocolate is soft. Remove from the oven, and immediately press down a single piece of your favorite candy-coated treat into the melty chocolate to form a button. Allow the buttons to firm completely before adding them to your board.

Heather Baird SprinkleBakes.com
Dip-Dyed Marshmallows
Customize the color of your board with marshmallows — they're a perfect blank canvas! Mix 5-6 drops of food coloring in 1/4 cup of water. Stir until the dye is thoroughly diluted. Dip a marshmallow into colored water, about halfway up the sides. Lift out and gently shake off excess tinted water. Place marshmallows on a cooling rack or a paper towel. Allow them to dry completely overnight before adding them to your board.
Heather Baird SprinkleBakes.com
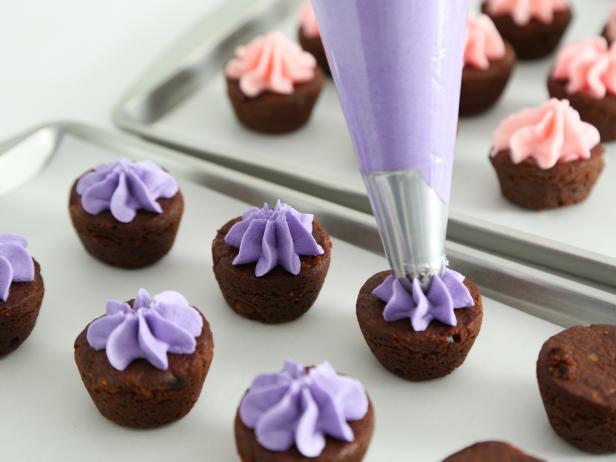
Frosted Brownie Bites
Add a decorative touch to store-bought brownie bites with ready-made frosting or your favorite homemade buttercream. Food coloring can be mixed into the frosting to match a color palette or theme. Place the frosting in a piping bag with a closed star piping tip, and pipe a star onto the top of each brownie bite. Allow them to stand until the icing crusts, about 30 minutes, and then arrange them on your board.
Heather Baird SprinkleBakes.com
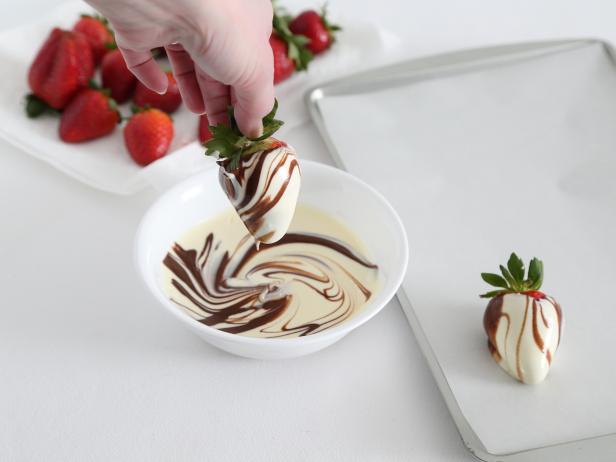
Fancy Dipped Strawberries
Marbled chocolate-covered strawberries add a luxurious fresh bite to your board. To make a dozen, melt 1 pound of white almond bark according to the package instructions. Heat 3 ounces of semisweet chocolate chips in the microwave at 30-second intervals until melted and smooth. Pour the melted chocolate into the white candy, and stir briefly with a spoon just until the chocolate swirls into the white candy. Dip fresh strawberries into the mixture, and turn them halfway as you remove them from the melted candy. Place the marbled berries on a baking sheet lined with parchment paper. Let stand until set, about 15 minutes. When the berries are set, transfer them to the refrigerator until ready to serve.
Heather Baird SprinkleBakes.com
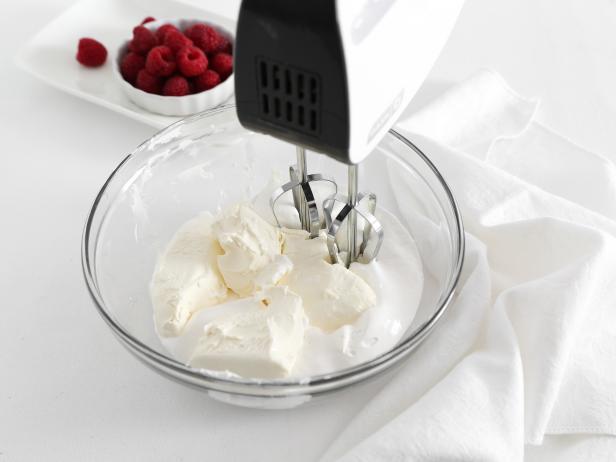
Cream Cheese Fruit Dip
You won’t find an easier fruit dip than this one, and it’s so versatile that you’ll be dipping cookies and pretzels alongside fresh fruit. To make it, simply add the contents of one container (7 ounces) of marshmallow cream in a mixing bowl. Add an 8-ounce package of softened cream cheese to the bowl, and whip until fluffy with a hand mixer. Cover and chill the dip until you’re ready to serve. Before serving, spoon the dip into a small bowl and place in close proximity to fresh fruit.
Compose Your Spread
Once you have your board and ingredients ready, it’s time to start arranging.
Heather Baird SprinkleBakes.com
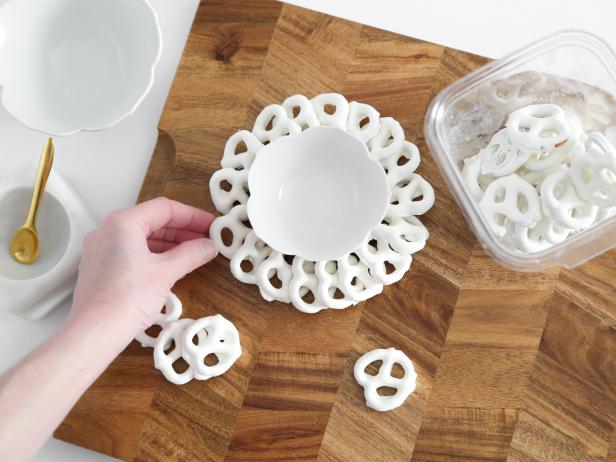
Starting Points
Begin by placing small bowls or ramekins on your board to anchor the placement of other ingredients. Yogurt pretzels can be tiled around the base of small bowl to create a flower-petal appearance. Keep this technique in mind when arranging smaller bites that tile well such as cookies and crackers, as they fan out easily around bowls and cups.
Heather Baird SprinkleBakes.com
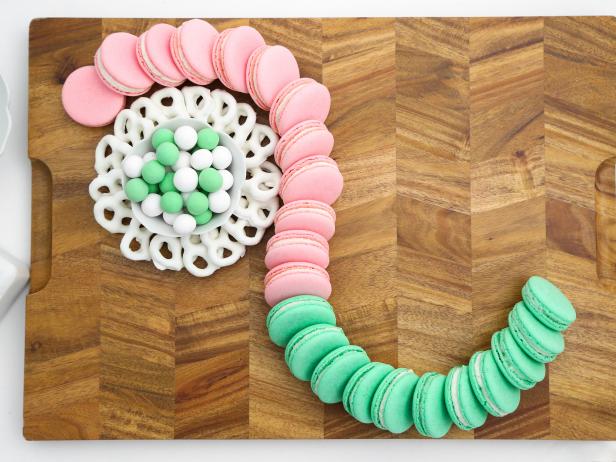
Line and Shape
Create shapes with your ingredients that will draw your eye across the board to every nook and cranny. These colorful macarons in an ‘S’ shape offer plenty of eye appeal, while creating a natural flow to other ingredients on the board. Experiment with creating diagonal lines, concentric circles or triangles — the only limit is your imagination.
Heather Baird SprinkleBakes.com
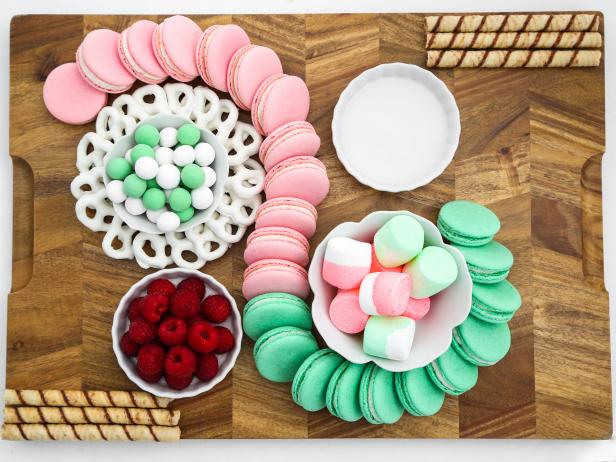
Aim for Symmetry
Symmetrical arrangements will always be pleasing to the eye, so use this to your advantage! Mirror (or reverse mirror) one side of the board’s arrangement on the other side. After you’ve filled in a good portion of the board with this technique, begin tucking little sweets into bare spots for a plentiful appearance.

Heather Baird SprinkleBakes.com
Serve and Enjoy!
Moving a full dessert board can jostle and ruin your careful arrangement, so it’s a good idea to build your board where you’ll be serving it. Aside from a few last minute additions of fresh berries and refrigerated items, all of the hard work has been done. All that’s left to do is enjoy the fruits (and desserts) of your labor.


