


How to Meal Prep for Diabetes
Meal prep can be a great way to make eating healthier easier. Here's what to consider if you're diabetic.

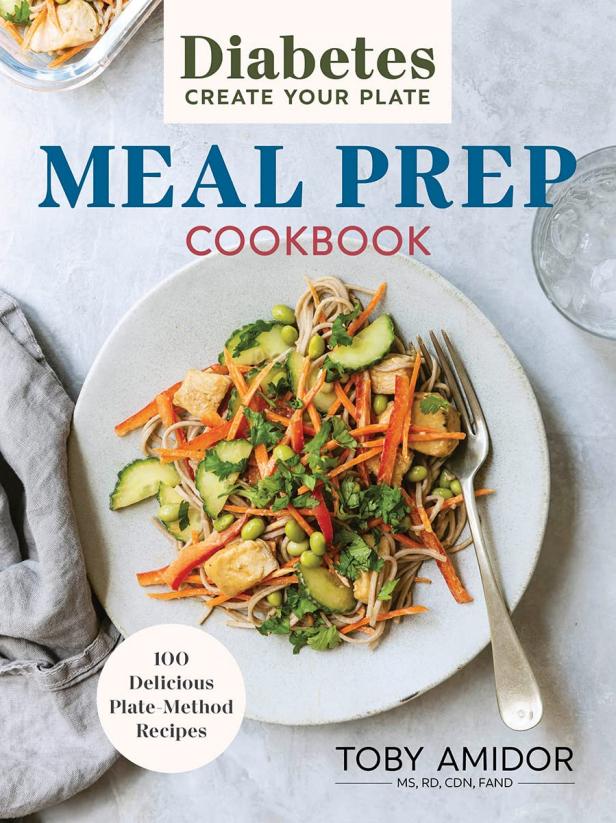
Meal prep is incredibly popular and can make it easy to eat healthier on a regular basis. However, if you’re diabetic, typical meal prep solutions might not work for you. In my latest cookbook Diabetes Create Your Plate Meal Prep Cookbook: 100 Delicious Plate-Method Recipes, I present and explain the Diabetes Plate Method, and how to meal prep 5 different meal plans using a method developed by the American Diabetes Association. Meal plans range in complexity from beginners to experienced meal preppers. Below you’ll find a brief overview of the Diabetes Plate Method and how to meal prep for people with diabetes using this method.
What Is the Diabetes Plate Method?
If you have diabetes, this method makes eating simple without any calorie- or carb-counting. Start with a 9-inch dinner plate. (If you need more calories than average, use an 11- or 12-inch dinner plate. For or slightly lower needs, use an 8-inch plate.) For meal prepping, fill a plate and then transfer the amounts into a meal prep container. The five steps of the Diabetes Plate Method are as follows:
Step 1. Fill half of your plate with non-starchy vegetables, such as broccoli, cauliflower, spinach or kale.
Step 2. Fill one-quarter of your plate with lean protein foods, such as lean meat, fish or seafood, eggs or plant-based protein like beans or tofu.
Step 3. Fill the final quarter of your plate with carbohydrate foods, such as grains, starchy vegetables, fruit, milk or yogurt.
Step 4. Choose a zero-calorie beverage like water or seltzer.
Step 5. Use healthy fats (like vinaigrette dressings or avocado) in small amounts and add them to your plate.
Food Safety Is Incredibly Important
People with diabetes have a weaker immune system and are more susceptible to foodborne illness. That is why it’s so important to follow proper food safety guidelines. Here are five important food safety recommendations to follow:
- Storage time: Cooked meals should be store a maximum of four days in the refrigerator. If you would like to cook a meal that lasts all five days, then make sure to freeze one container so it can be used later on in the week. To defrost, place the frozen meal prep container in the refrigerator the night before.
- Keep your hands clean: Always remember to wash your hands before starting to meal prep and between handling raw foods like meats and ready-to-eat foods like produce.
- Separate foods: Meal prepping has you handling more ingredients than just one recipe. That means keeping an eye on raw and ready-to-eat foods. Your best bet is to use separate cutting boards for these items to avoid cross-contamination.
- Use a thermometer: The most effective way to know if your meat or poultry is cooked through is to use a meat thermometer placed in the thickest part. Look for recipes that have the cooking temperature listed or use a meat thermometer with built in cooking temperatures.
- Properly reheat: When you are ready to eat your frozen meals, transfer the container to the refrigerator the night before to thaw. Reheat your microwave-safe or oven-safe container in the microwave or oven, or transfer the contents of the container into a pot or pan and reheat on the stove.
Meal Prepping Using the Diabetes Plate Method
The next step is to use the Diabetes Plate Method to prep your meals for the week. Below are meal prepping guidelines.
- Choose when to prep: You can choose to prep for one full day or two half days.
- Decide which meals to prep: You do not have to prep every single meal for the week. Start slow and build your way up. If you get lunch at work or have several work or social dinners a week, then there is no need to prep dinners for every single night of the week. Create a weekly meal plan or calendar to determine how many meals you actually need. It can vary from week to week.
- Find recipes for people with diabetes: You can find meal prep recipes in my cookbook Diabetes Create Your Plate Meal Prep Cookbook and also on the American Diabetes Association’s website. Make sure the recipes are suitable for people with diabetes.
- Go food shopping: Review recipes carefully so you don’t buy an expensive ingredient you already have. Write a shopping list using the flow of the supermarket which helps save trips back and forth for items you forgot. Give yourself about two hours for the food shopping process.
- Prep and cook: Once you have your recipes and ingredients, it’s time to start cooking. Do your chopping, slicing and dicing first and then work on recipes that take longer to cook. During the cooking time, prepare easier recipes like dressings or snacks.
- Portion and pack: This is essential for a person with diabetes to do in order to ensure that you’re getting a well-balanced meal and not over- or under-eating. Pack your containers immediately after you finish cooking your meal.
Below is an easy meal prep recipe from my latest cookbook, along with how to complete the “plate” or meal prep box according to the Diabetes Plate Method.

Photo from Create Your Plate Diabetes Meal Prep Cookbook by Toby Amidor. Published by Robert Rose Books. Photo courtesy of Ashley Lima. All Rights Reserved.
Pesto Chicken Bake
Add a bust of flavor to your chicken breast by using pesto sauce. This pesto adds healthy fats from pine nuts and olive oil, which helps keep you satisfied for longer. Pair with 1 cup of steamed sliced carrots and ¾ cup of whole wheat spaghetti for a complete meal.
Serves 6
Serving size: 1 chicken breast
Total time: 40 minutes
Prep time: 15 minutes
Cook time: 25 minutes
Ingredients
- 6 (5-oz/150 g) thin sliced boneless skinless chicken breasts
- 1/4 tsp (1 mL) salt
- 1/4 tsp (1 mL) ground black pepper
- 6 tbsp (90 mL) Simple Pesto Sauce (recipe below) or store-bought pesto sauce
- 4 oz (125 g) fresh mozzarella, cut into 6 slices
- 2 plum tomatoes, thinly sliced
Instructions
- Coat a 13-by-9-inch (33 by 23 cm) glass baking dish with cooking spray. Preheat the oven to 350 F (180 C).
- Sprinkle both sides of the chicken breasts with the salt and pepper.
- Place the chicken breasts in a single layer in the prepared baking dish. Top each breast with 1 tbsp (15 mL) of the pesto sauce and spread it evenly using the back of a spoon. Top the pesto with one slice of mozzarella cheese and the tomato slices divided equally among the six breasts.
- Bake until the cheese has melted and an instant- read thermometer inserted into the thickest part of the chicken registers 165 F (74 C), 25 minutes.
- TO STORE: In each of six containers, add one chicken breast. Cover and refrigerate for up to 4 days or freeze for up to 2 months.
- TO SERVE: If needed, thaw in the refrigerator overnight. To reheat, microwave uncovered on High for 1 minute. Allow 2 minutes for the heat to distribute before removing the container from the microwave. Serve warm.
Nutrition information (per serving): Total Calories: 351.62; Total Fat: 21.01g; Saturated fat: 5.46g; Trans fat: 0.01g; Protein: 37.18g; Total carbohydrates: 1.97g; Sugars: 0.75g; Fiber: 0.50g; Cholesterol: 121.78mg; Sodium: 296.27mg; Potassium: 569.42mg; Phosphorus: 358.16mg
Simple Pesto Sauce
Makes 1/2 cup (125 mL)
Serving size: 1 tbsp (15 mL)
Total time: 10 minutes
Prep time: 10 minutes
Cook time: 0 minutes
Ingredients
- 1 1/2 cups (375 mL) fresh basil leaves
- 1/4 cup (60 mL) grated Parmesan cheese
- 1/4 cup (60 mL) pine nuts
- 3 cloves garlic, crushed
- 1/4 tsp (1 mL) salt
- 1/3 cup (75 mL) extra virgin olive oil
Instructions
- Place the basil, Parmesan cheese, pine nuts, garlic and salt in a blender and blend until smooth. While the machine is running, drizzle in the olive oil until incorporated.
- TO STORE: Transfer the pesto to a sealable container. Cover and refrigerate for up to 1 week.
Recipes from Create Your Plate Diabetes Meal Prep Cookbook by Toby Amidor. Published by Robert Rose Books. Photo courtesy of Ashley Lima. All Rights Reserved.
Toby Amidor, MS, RD, CDN, is a registered dietitian and consultant who specializes in food safety and culinary nutrition. She is the author of The Greek Yogurt Kitchen: More Than 130 Delicious, Healthy Recipes for Every Meal of the Day.
*This article was written and/or reviewed by an independent registered dietitian nutritionist.
Related Links:

