


Recipe courtesy of Jacques Torres
Recipe courtesy of Jacques Torres
Episode:
Chocolate: The Backstory
Candied Grapefruit Peels
Getting reviews...
- Level: Intermediate
- Total: 3 hr 15 min
- Prep: 15 min
- Cook: 3 hr
- Yield: 180 peels
- Level: Intermediate
- Total: 3 hr 15 min
- Prep: 15 min
- Cook: 3 hr
- Yield: 180 peels
Ingredients
Directions
- Using a sharp knife, cut each grapefruit into quarters. Remove the fruit from the peel, leaving the white membrane or pith attached to the peel. Save the fruit for another use. Slice each quarter peel on a diagonal into strips about 1/2-inch wide. If you cut them evenly, they will look nicer when displayed.
- Place the sliced grapefruit peels in a nonreactive 4-quart heavy-bottomed saucepan and add enough water to cover the peels by about 1-inch. Place over high heat and bring to a rolling boil. Remove from the heat and strain. Return only the peels to the saucepan, cover again with fresh water, and repeat the boiling and draining process three more times. It is really important to change the water because it retains the bitterness of the peel.
- After the fourth boil, drain the water as before and return the peels to the saucepan. Add the sugar and enough water to cover the peels by 1-inch. Place over low heat and let simmer for 2 hours. During this time, the sugar will sweeten and preserve the natural flavor of the peels. After 2 hours, they will be soft and translucent and the syrup will be thick. Let the peels cool in the syrup and keep them stored in the syrup, refrigerated, in an airtight container until you are ready to serve. They will keep this way for up to three weeks.
- When ready to use, allow the peels to drain on a wire rack for a few hours to remove the excess syrup. Put the rack over a baking sheet so the syrup does not drip all over the work surface.
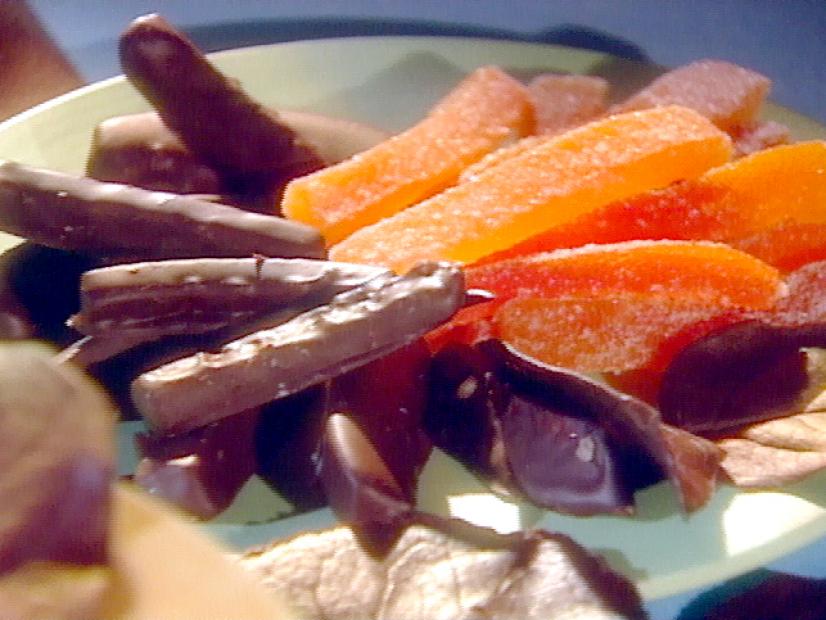
- Once fully drained, you have three options for serving: First, you can serve them as they are. Second, you can place the peels in a medium-sized bowl filled with granulated sugar. Roll the peels around in the sugar until they are well coated. Third, you can dip the sugared peels into the bittersweet chocolate. Dip two thirds of each sugared peel into the bittersweet chocolate. Gently wipe the excess chocolate from the end of each peel before placing on parchment paper. The chocolate should set in a few minutes if it is tempered and the kitchen is not too hot.
- Whatever variation you choose, present the peels on a plate or in a small bowl or in petits fours cups.
- Once the peels have been sugared and dipped in chocolate, they can be stored at room temperature in an airtight container for up to three days.
- How to Temper Chocolate(From Dessert Circus, Extraordinary Desserts You Can Make At Home by Jacques Torres):
- Chocolate is tempered so that after it has been melted, it retains its gloss and hardens again without becoming chalky and white (that happens when the molecules of fat separate and form on top of the chocolate). There are a variety of ways to temper.
- One of the easiest ways to temper chocolate is to chop it into small pieces and then place it in the microwave for 30 seconds at a time on high power until most of the chocolate is melted. Be very careful not to overheat it. (The temperature of dark chocolate should be between 88 and 90 degrees F, slightly warmer than your bottom lip. It will retain its shape even when mostly melted. White and milk chocolates melt at a temperature approximately 2 degrees F less because of the amount of lactose they contain.) Any remaining lumps will melt in the chocolate's residual heat. Use an immersion blender or whisk to break up the lumps. Usually, chocolate begins to set, or crystallize, along the side of the bowl. As it sets, mix those crystals into the melted chocolate to temper it. A glass bowl retains heat well and keeps the chocolate tempered longer.
- Another way to temper chocolate is called seeding. In this method, add small pieces of unmelted chocolate to melted chocolate. The amount of unmelted chocolate to be added depends on the temperature of the melted chocolate, but is usually 1/4 of the total amount. It is easiest to use an immersion blender for this, or a whisk.
- The classic way to temper chocolate is called tabliering. Two thirds of the melted chocolate is poured onto a marble or another cold work surface. The chocolate is spread out and worked with a spatula until its temperature is approximately 81 degrees F. At this stage, it is thick and begins to set. This tempered chocolate is then added to the remaining non-tempered chocolate and mixed thoroughly until the mass has a completely uniform temperature. If the temperature is still too high, part of the chocolate is worked further on the cold surface until the correct temperature is reached. This is a lot of work, requires a lot of room, and makes a big mess.
- A simple method of checking tempering, is to apply a small quantity of chocolate to a piece of paper or to the point of a knife. If the chocolate has been correctly tempered, it will harden evenly and show a good gloss within a few minutes.


