


1 / 33
Photo: Heather Baird SprinkleBakes.com
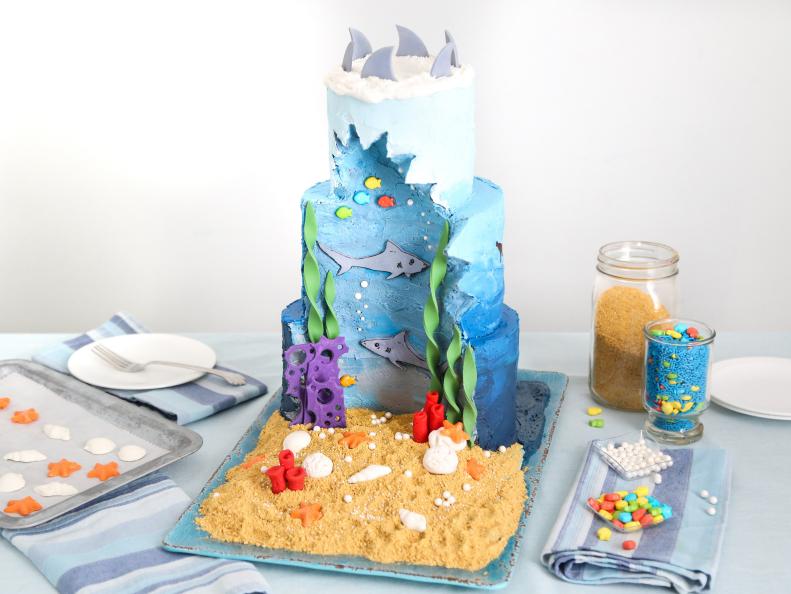
So Much to See
Before you slice into this cake, make sure your guests have a chance to take it all in! This colorful ocean scene (complete with circling sharks) is only half the design — the other side of the cake is covered in stealthy shark silhouettes, inviting the viewer to enjoy the creation as a 3D scene. Here's how to make it.