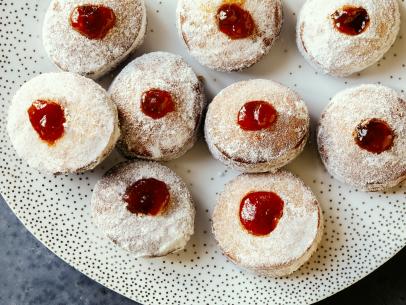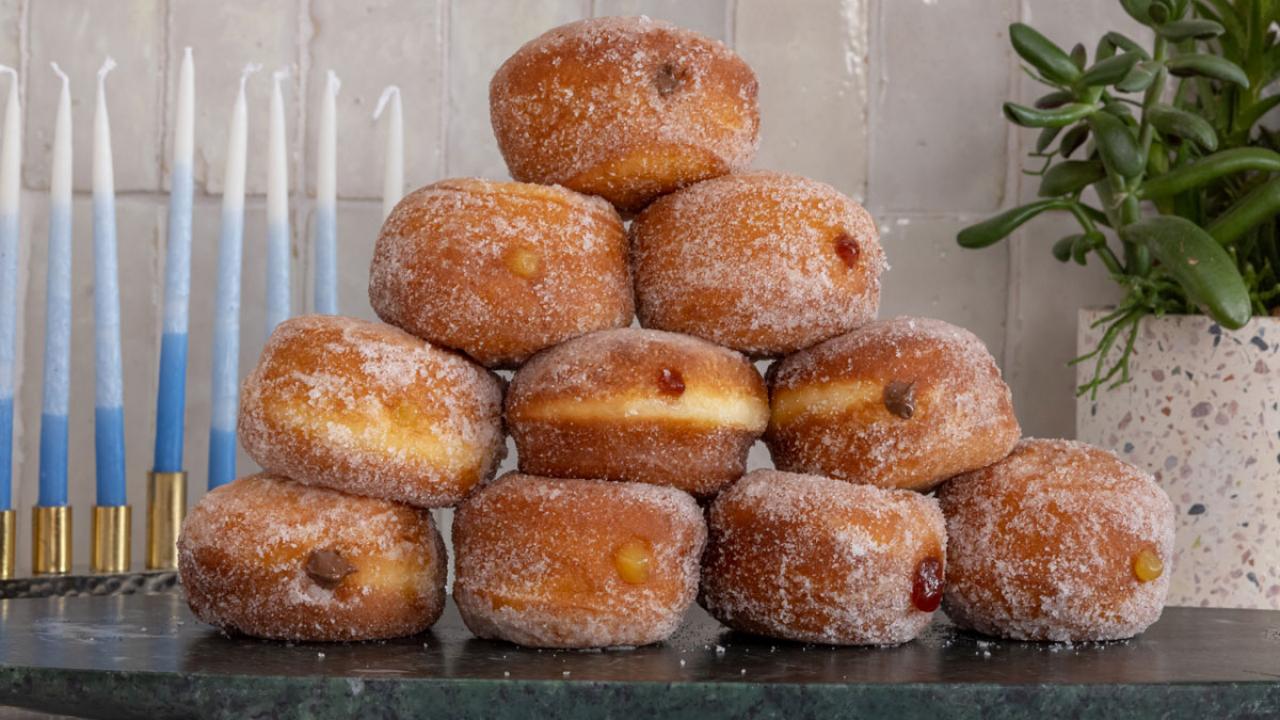
Hanukkah Sufganiyot
- Level: Intermediate
- Total: 8 hr 30 min (includes resting, proofing and cooling times)
- Active: 1 hr 30 min
- Yield: 16 to 18 small sufganiyot
-
- Nutritional Analysis
- Per Serving
- Serving Size
- 1 of 18 servings
- Calories
- 507
- Total Fat
- 21 g
- Saturated Fat
- 3 g
- Carbohydrates
- 75 g
- Dietary Fiber
- 1 g
- Sugar
- 45 g
- Protein
- 6 g
- Cholesterol
- 37 mg
- Sodium
- 185 mg
Ingredients
Sponge:
Dough:
Fillings and Toppings:
Directions

Special equipment:
a deep-frying thermometer; a 2 1/2-inch round cutter; a pastry bag fitted with a Bismark piping tip- For the sponge: In a large mixing bowl, combine the milk and yeast, whisking until the yeast is dissolved and there are no lumps. Add the flour and using a spatula, combine until uniform. The mixture will be the consistency of pancake batter. Cover with plastic and let it sit at room temperature until bubbly, and the mixture has grown by about half its volume. This will take 20 to 25 minutes.
- For the dough: In the bowl of a mixer fitted with the paddle attachment, combine the butter, sugar and salt. Mix on medium speed until smooth and creamy, about 2 minutes. Stop the mixer and scrape down the bowl with a spatula. Add the eggs and yolks, and mix again at medium speed for 1 minute. The eggs and yolks will not fully emulsify with the butter mixture, and it will resemble very wet scrambled eggs. This is ok!
- Stop the mixer and scrape down the sides and bottom again with the spatula, then add all of the flour and mix until just combined, about 10 seconds on low speed. Remove the paddle, scraping off any of the butter, egg and flour mixture back into the bowl. Switch to the dough hook and add all of the sponge. Turn the mixer on low speed and mix, kneading the dough into a smooth ball. This will take 20 to 25 minutes. You can stop the mixer halfway through and scrape down the sides with a spatula to make sure everything is fully incorporated.
- Lightly spray the top of the dough with neutral cooking spray and cover with plastic. Let it proof at room temperature until doubled in size, usually 1 1/2 to 2 hours.
- Gently punch down the dough, transfer to a large bowl lightly sprayed with neutral cooking spray, cover with plastic and transfer to the fridge for 3 hours or overnight.
- When you’re ready to fry, set up 2 sheet trays. Cut 16 to 18 squares of parchment paper, about 3 inches square, and spray each with neutral cooking spray. Line them up on the sheet trays, without overlapping. Remove the dough from the fridge and gently turn it out onto a floured work surface. Dust the top of the dough lightly with flour and gently roll it out into a circle about 1/2 inch thick. This dough rolls best cold. Using a 2 1/2-inch round cutter, punch out circles of dough, cutting 16 to 18 rounds.
- Place the cut rounds on the squares of parchment, giving each its own square. Spray the rounds with a little neutral cooking spray and cover loosely with plastic. Allow them to proof at room temperature until doubled in size and light to the touch, 1 to 1 1/2 hours.
- When the dough is proofed, heat the oil in a deep pot until a deep-frying thermometer registers 350 degrees F. While it heats up, set up a sheet tray with a resting rack right by the stove. Keep a slotted spoon handy.
- When the oil is hot, pick up the rounds of dough on their parchment paper squares and carefully drop about 5 rounds at a time into the hot oil. The parchment will separate itself from the dough as it starts to fry, and you can fish it out and discard as you go. This makes transferring them to the oil very easy. Allow them to fry, flipping them with the slotted spoon, for 3 minutes on each side. They should be deep golden brown. Use the spoon to transfer them to the resting rack when done. Repeat until all the dough is fried.
- For the fillings and toppings: Place the sugar in a mixing bowl. Once the sufganiyot are cool enough to handle, gently roll each in the sugar, coating well. It’s fine if they’re warm when you do this. Transfer to a clean tray to continue cooling.
- Fit a piping bag with a Bismark piping tip. Fill your piping bag with your filling of choice. Once the sufganiyot are cooled to room temperature, use the piping tip to poke a hole into the side or top (a style preference) of each, and squeeze in the filling, being careful to not overfill. Repeat until all the sufganiyot are filled. Best enjoyed the day they’re made!
Cook’s Note
Store-bought preserves and chocolate spreads are great—my favorite is raspberry preserves and chocolate hazelnut spread. Use as many different fillings as you like. You can make this dough a day ahead. After punching it down and transferring to the fridge, leave it to chill overnight. The next day, continue as instructed. Do not fill the sufganiyot until they’re fully cooled to room temperature, or else the filling will squirt back out at you.