


Here's How to Make the 3 Most Popular Cakes on Instagram
You’ve seen them, you’ve liked them — and now you can make them!

Chances are you've seen some pretty impressive cakes on your Instagram feed. From the Melting Ice Cream Cone Cake, to the Geode Cake, to the Shag Cake, there's a lot of whimsical creations out there. Though they involve a bit more time and elbow grease than your average layer cake, making them is easier than you might think. We asked three baking pros to show us how to decorate some of Instagram’s most famous desserts. To get started on yours, just follow the steps below. And don’t forget to snap some photos for the ‘gram when you’re done!
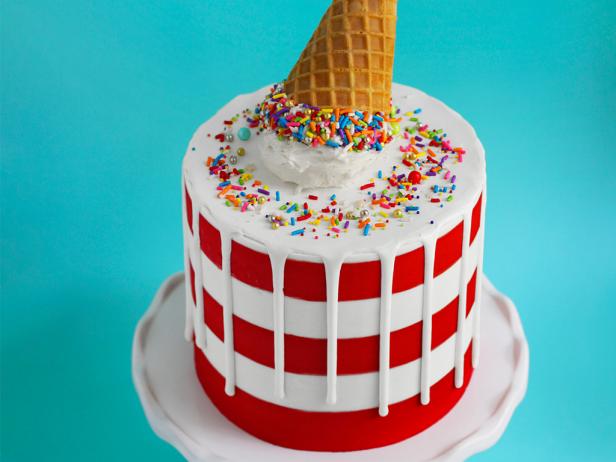
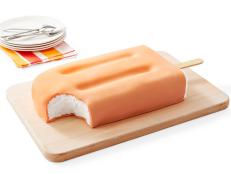
Real ice cream is hard to photograph, but these ganache drips will stick around long enough for you to get a perfect shot. If you share it, you’ll be in good company: #dripcake has been posted almost 1.8 million times on Instagram! Baltimore-based custom cake maker Sophie Coates, who perfected the look, gave us the scoop on how to make one.
How to Make It
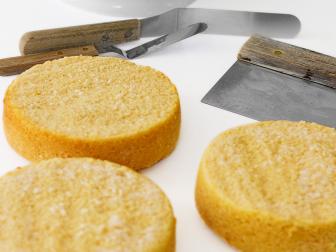
Step One:
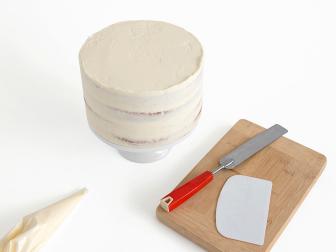
Trim the tops of the cakes to make them level. Stack the cakes on a cardboard round, spreading buttercream between each with an offset spatula. Set aside 1/2 cup buttercream in the refrigerator for the ice cream scoop.

Step Two:
Transfer the layer cake to a turntable. Cover with a thin layer of buttercream (this is the crumb coat). Refrigerate until just set, 10 minutes. Cover with more buttercream, smoothing it with a bench scraper.
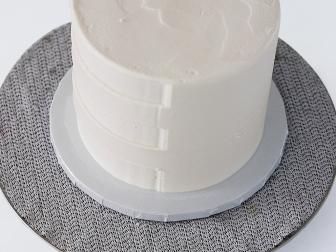
Step Three:
Hold the icing comb against the side of the cake (with the grooves against the frosting) and slowly rotate the turntable to make grooves in the buttercream. Freeze the cake 15 to 20 minutes.

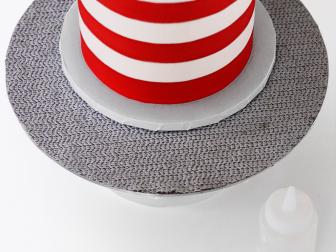
Step Four:
Tint 1 cup buttercream red. Transfer to a piping bag. Pipe into every other groove on the cake. Smooth with a bench scraper, rotating the turntable (if it looks messy, keep smoothing until the stripes are clean). Freeze the cake 15 minutes.
Step Five:
Meanwhile, make the ganache: Heat the heavy cream until steaming, then pour over 1 cup white chocolate chips. Let sit for a minute, then stir until smooth. Add a few drops of white food coloring. Pour into a squeeze bottle.

Step Six:
Gently squeeze the ganache down the sides of the cake to make drips, then squeeze the remaining ganache over the top; smooth with an offset spatula. Melt the remaining 1/2 cup white chocolate chips in the microwave.
Step Seven:
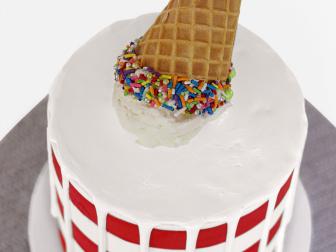
Dip the cone in the white chocolate, then in sprinkles. Scoop the chilled 1/2 cup buttercream onto the cake using an ice cream scoop. Insert a lollipop stick into the scoop and cake; use it to support the cone.
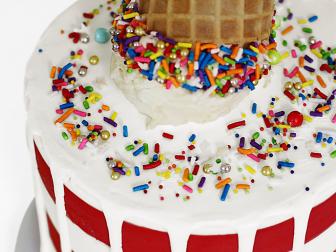
Step Eight:
Decorate with more sprinkles around the upside-down ice cream cone.

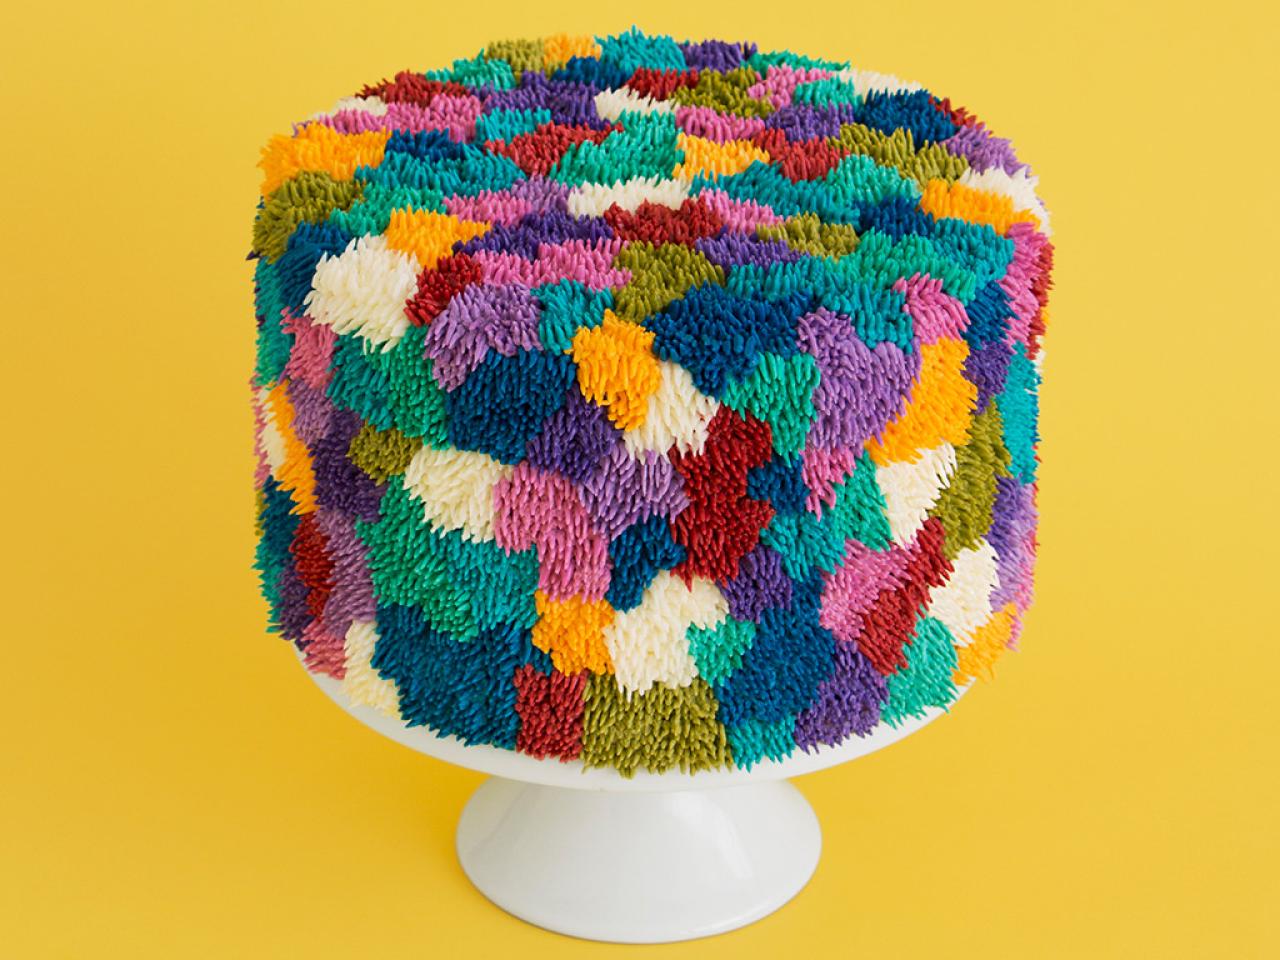
When Los Angeles baker Alana Jones-Mann started making these groovy cakes seven years ago, she didn’t set out to mimic carpets: People saw a resemblance to colorful shag rugs of the ’70s and the name stuck. Each of Alana’s cakes is unique, and she never plans the design ahead of time. Check out how this shaggy chic cake came together.
How to Make It

Step One:
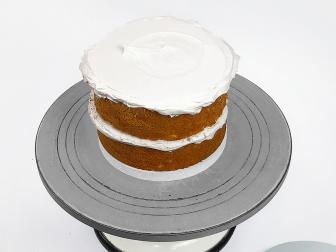
Trim the tops of the cakes to make them level. Stack the cakes on a cake stand, spreading a layer of buttercream between each with an offset spatula.
Step Two:
Cover the layer cake with a thin layer of buttercream (this is the crumb coat), smoothing it with a bench scraper. Refrigerate until set, about 15 minutes.
Step Three:
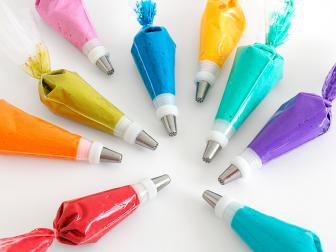
Meanwhile, divide the remaining buttercream among 6 to 10 bowls. Tint with food coloring. Transfer each color frosting to a separate piping bag fitted with a grass tip.
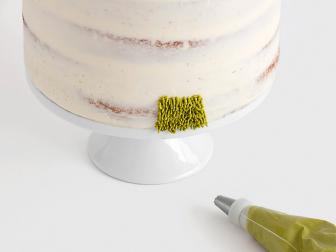
Step Four:
Holding a piping bag perpendicular to the cake, pipe a small section of buttercream at the base of the cake.

Step Five:
Continue making your way around the sides of the cake, working from the bottom to the top. Do not leave any of the crumb coat showing.
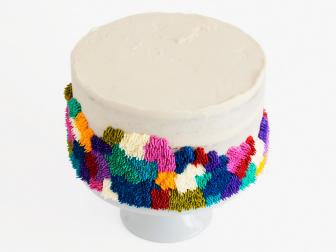
Step Six:
Continue making your way around the sides of the cake, working from the bottom to the top. Do not leave any of the crumb coat showing.
Step Seven:
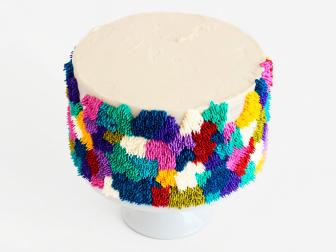
Once the sides are fully covered, continue in the same manner to cover the top with alternating colors, shapes and sizes of frosting.

Step Eight:
Refrigerate the cake at least 30 minutes before serving to allow the frosting to set.
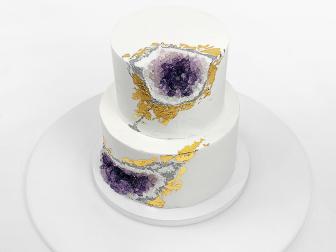
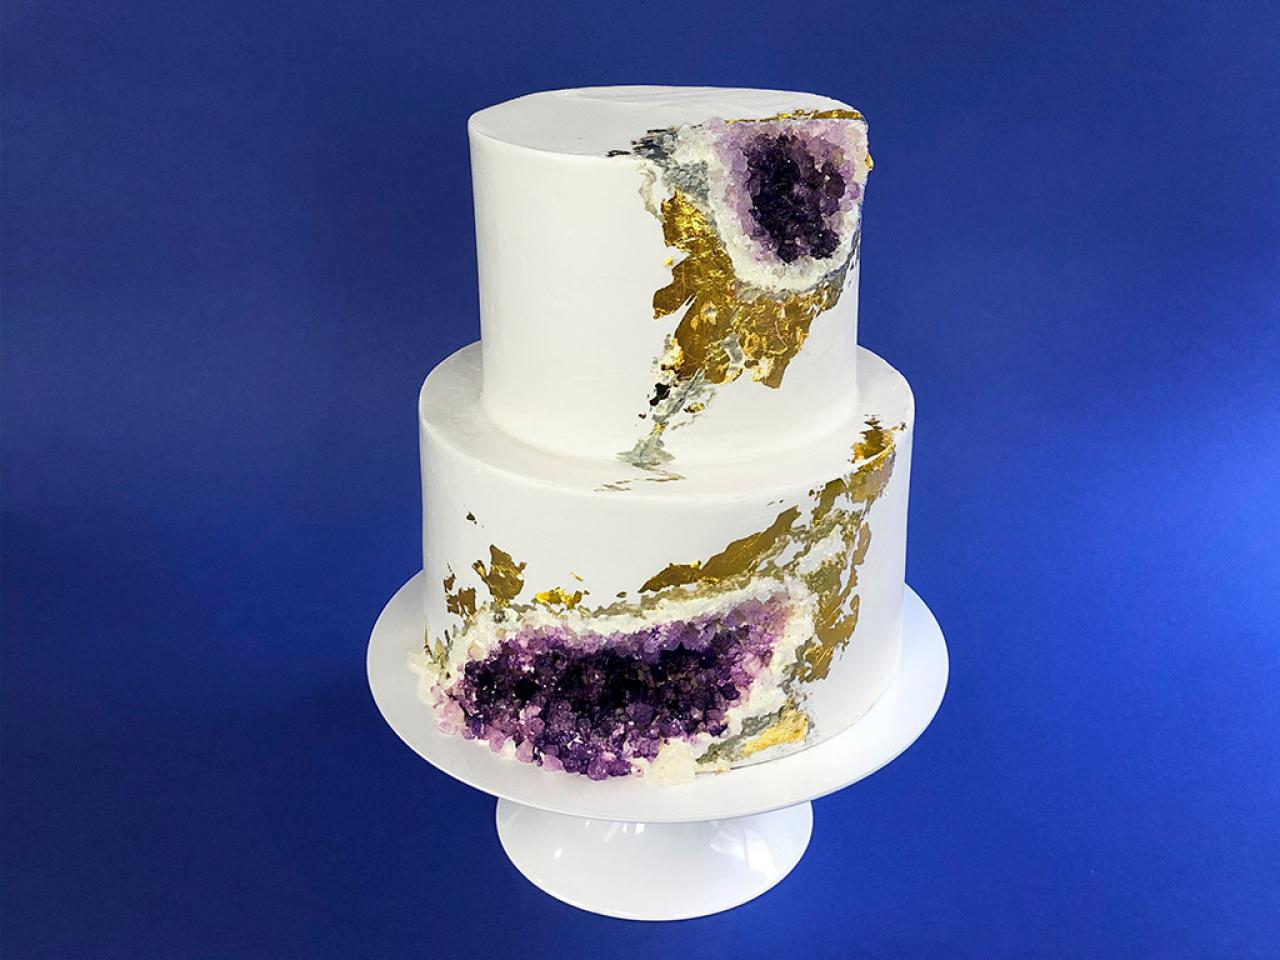
This Instagram sensation started as a simple post. In 2016, Denver-based cake maker and Food Network Challenge winner Rachael Teufel was asked to create a cake inspired by an amethyst. She came up with a rock candy geode and shared a photo, and everyone went nuts. Now, with more than 48,000 posts, #geodecake is officially a thing: Beyoncé celebrated her birthday with a black-and-gold one. See how Rachael creates this gem.
How to Make It
Step One:
Trim the cakes to make them level. Working on a turntable, stack the 6-inch cakes on a cardboard round, spreading the buttercream between them with an offset spatula. Stack the 8-inch cakes the same way on an 8-inch round.
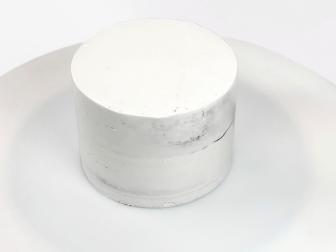
Step Two:
Cover each layer cake with a thin layer of buttercream (this is the crumb coat), smoothing it with a bench scraper. Refrigerate until firm, 1 hour. Cover with more buttercream; chill overnight. (Reserve 1/2 cup buttercream for Step 4.)
Step Three:
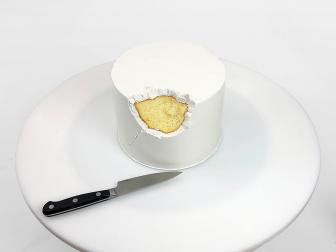
Add the geode to the 6-inch layer cake: Using a paring knife, carve out an irregular piece from the side of the cake. Be careful not to cut deeper than one-third of the diameter of the cake in order to maintain the cake’s structure.

Step Four:
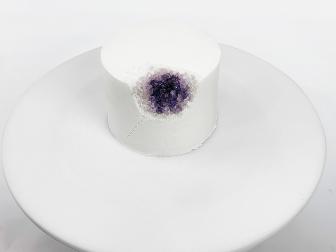
Frost the inside of the cutout, then gently add the rock candy. (Don’t press too hard or the frosting will ooze out.) Using a spoon, sprinkle sanding sugar around the edges of the cutout to fill in any gaps.

Step Five:
Dilute a few drops of food coloring with a splash of vodka or lemon extract. (Test your color on some spare rock candy.) Using a paintbrush, paint the center of the geode in an irregular shape; do not oversaturate.
Step Six:
Add a few more drops of vodka or extract to dilute the remaining food coloring; apply the lighter color around the dark center of the geode. Continue diluting the food coloring; paint outward until all the rock candy is covered.
Step Seven:
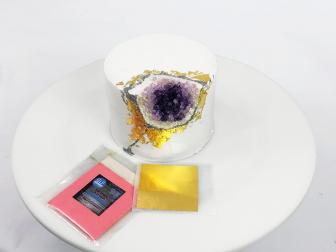
Mix a few pinches of silver luster dust with a few drops of vodka or lemon extract. With a clean brush, paint the edges of the geode silver, then apply the gold leaf around the silver paint in spots.
Step Eight:
Decorate the 8-inch cake, placing the geode on a different part of the cake. Insert skewers into the 8-inch cake, cutting them level to the top, then carefully add the 6-inch cake on top so the cardboard round rests flat on the skewers.
Photo Credits:
All Melting Ice Cream Cone Cake photos by Sophie Coates.
All Shag Cake photos by Alana Jones-Mann.
All Geode Cake photos by Rachel Teufel, Intricate Icings Cake Design.
Related Links:


