


Recipe courtesy of Ashley Holt
Recipe courtesy of Ashley Holt
Watch how to make this recipe.
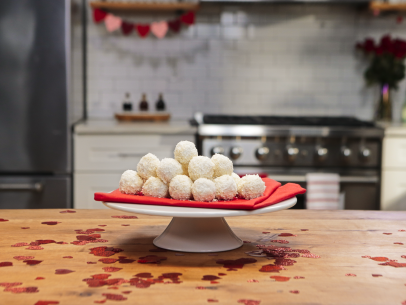
Coconut Snow-Friend Truffles
Getting reviews...
- Level: Easy
- Total: 1 hr 10 min (includes setting time)
- Active: 30 min
- Yield: 12 truffles
I've got a soft spot for no-bake desserts (well, all desserts really), and these coconut truffles sit right at the top of my list of favs! This recipe combines the rich flavors of sweet coconut and cream cheese, and the best part? It's a breeze to whip up, making it a perfect choice for a quick and tasty holiday treat! Plus, the truffles are so cute and guaranteed to make you smile.
- Level: Easy
- Total: 1 hr 10 min (includes setting time)
- Active: 30 min
- Yield: 12 truffles
Ingredients
Directions
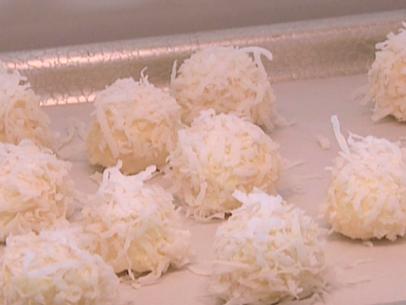
- Prepare the Coconut Mixture: In a mixing bowl, blend together the shredded coconut, cream cheese, powdered sugar, vanilla extract and coconut extract until you have a dough-like consistency. Mix in optional add-ins if desired.
- Shape the Snow-Friends: Wet your hands slightly to prevent sticking and roll 2 tablespoons of the coconut mixture into a ball to create the snow-friend's cute little head. Repeat this process until you have 12 of them.
- Preheat the oven to 250 degrees F. Put a baking sheet in the oven for about 10 minutes to warm it.
- Create the Snow-Friends' Top Hats: Unwrap the chocolate-covered caramel candies – they're going to be the snow-friends' top hats.
- Turn the warm baking sheet over and place a piece of parchment on top of the underside of the pan. We’re creating a warm (not hot!) flat surface to melt the chocolate. Gently press down the chocolate-covered caramels on the baking sheet until the bottoms just start to melt, forming the brims of the hats. If it's too hot they will melt too fast; if it's not warm enough, they won't melt like we want them to. It may take one or two candies to practice, but you'll get the hang of it!
- Place the baking sheet in the fridge to let the chocolate set. After about 10 minutes, carefully peel the candies off the parchment, taking care to not break the chocolate brims. Gently press a top hat onto the head of each snow-friend.
- Add the Carrot Noses: This is my daughter's favorite part! Unwrap the orange chewy candies, cut each in half diagonally and then cut each piece in half again to make 4 triangles (12 triangles total). Mold each piece into a cute, little carrot-shaped nose and press it onto the front of each snow-friend's face.
- Make the Scarves: Cut the sour fruit tape pieces to the approximate length of a scarf for each snow-friend's neck (if stacking) and cut slits on either side for the fringe. You may need a dab of water to fasten the scarf together.
- Make the Eyes and Buttons (if you’re stacking your truffles!): Use mini chocolate chips to give your snow-friends some personality – these will be their eyes and buttons. Press them onto the coconut truffles.
- Add Arms (If you decide to stack your snow-friends!): Break those mini pretzel sticks in half and gently press them into the sides of the snow-friends to create adorable arms.
- Chill the Snow-Friends: Place your finished snow-friend truffles on a parchment-lined baking sheet and let them chill in the fridge for at least 30 minutes to firm up.
- Serve and Enjoy: Serve them chilled and let your kiddos and friends dig in.
- Happy holidays and happy baking!
Cook’s Note
The noses made from chewy fruit candies will harden in the fridge, so enjoy them as hard candies or let soften a bit at room temp before eating.
Looking for Something Else?


Related Pages
- Chocolate Truffles Recipe
- Chocolate Coconut Bourbon Truffles Recipe
- Chocolate Coconut Truffles Recipe
- Grasshopper Chocolate Torte Layer Cake Recipe
- Pineapple Cake Truffles Recipe
- Pineapple Upside-Down Doughnuts Recipe
- Cherry Chocolate Truffles With Coconut Recipe
- Thanksgiving Turkey Cupcakes Recipe
- Coconut Truffles Recipe