- Total: 35 min
- Prep: 5 min
- Cook: 30 min
- Yield: 6 (8-ounce) jars
- Total: 35 min
- Prep: 5 min
- Cook: 30 min
- Yield: 6 (8-ounce) jars
Ingredients
Preserving Hardware:
Jam Hardware:
Jam Software:
Directions
Special equipment:
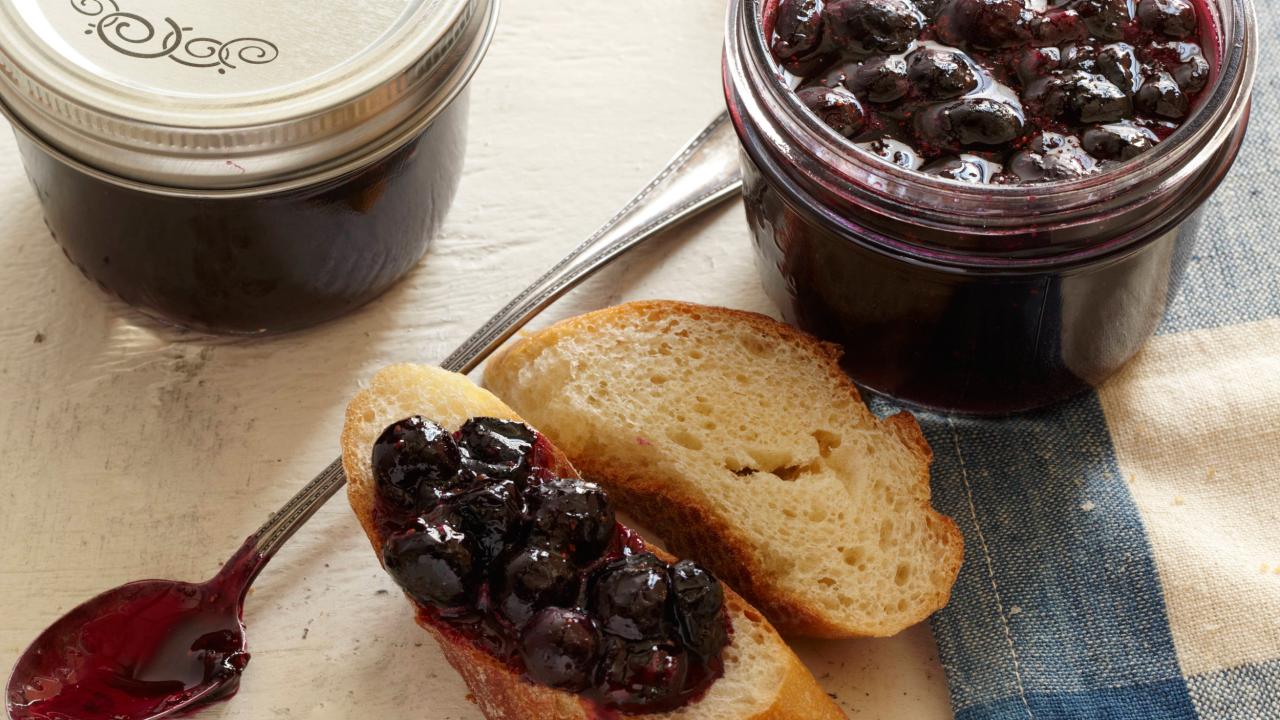
Preserving Hardware: Large stockpot or canning kettle Jar rack or cake cooling rack (for holding filled jars off the floor of the pot 6 (8-ounce) Mason style preserving jars with lids and bands Wide mouth canning funnel (technically optional, practically indispensable) Canning tongs (specially made for snatching jars in and out of very hot situations Large (8-ounce) ladle Paper towels or dishtowels Magnetized "lid-wand" or magnet tool from hardware store (optional, but how else you gonna get hold of those darned lids) Jam Hardware: Medium-large saucepan Wooden spoon Hand masher Nutmeg grater (optional)- For the jam: Place blueberries in saucepan over medium-low heat. Sprinkle with pectin followed by the anise, nutmeg, lemon juice and vinegar. Once liquid starts to gather in bottom of pan, increase the heat to high and bring to a boil. Lower heat slightly and boil gently for five minutes occasionally mashing mixture. Mash in sugar, add the water and return to a boil for 1 minute. You just made jam. Cool, jar, refrigerate and enjoy within 2 weeks. Or, move to the preserving phase. Preserving the jam: Thoroughly wash all hardware in hot soapy water. Then pile everything (excluding the jar lids) into the pot. Cover with hot water by at least 1-inch and bring to a boil and maintain for 10 full minutes to sterilize. Turn off the heat, wait 5 minutes then add the lids (waiting will insure that the sealing compound does not melt). Leave all hardware in the pot until you're ready to can.
- Remove the ladle, tongs, funnel and other tools from the pot, (careful please, it's hot in there) to a clean towel or paper towels. Using the jar tongs, remove and drain the jars, placing them on the towel/paper towel surface. (Avoid rock or metal surfaces which could result in thermal shock and breakage.)
- Place the funnel in the first jar (pick it up by the ring, avoiding the sterile interior.) Use the ladle to fill each jar just to the bottom of the funnel, about 1/3-inch from the bottom of the jar threads. This "headspace" is necessary for the jars to seal during processing.
- Wipe the jar rims with a moist paper towel, checking for any cracks or irregularities as you go. Use the magnetized device of your choice to position lids on each jar. Screw the rings on finger tight. (Remember, the rings don't seal the jars they only hold the lids in place. Heat will drive out the headspace air, which when cooled will create a vacuum, thus sealing the jars)
- Return the jars to the pot being certain that they don't touch the bottom of the pot or each other. (If you don't have a jar rack, try a round cake rack, or metal mesh basket. Even a folded kitchen towel on the pot bottom will do in a pinch.) Add additional water if necessary to cover the jars by at least an inch, and bring to a hard boil over high heat according to the table below. (Be sure not to start your timer until a true boil is reached. The headroom air may bubble out of the jars before a boil is reached. Don't be fooled.)
- Processing times: Within 1,000 feet of sea level: 5 minutes 1,000 - 3,000 feet above sea level: 10 minutes 3,001- 6,000 feet above sea level: 15 minutes 6,000 - 8,000 feet above sea level: 20 minutes Above 8,000 feet: wait until you're back down at base camp.
- Recipe courtesy of Alton Brown
