


How to Pour an Artsy Latte

Tara Donne
Lesson learned by Food Network Magazine editors while working on the April issue: Leave latte art to the professionals. Those pretty heart and rosetta foam patterns you splurge for at the coffee shop are no easy feat. They require hours of practice and a very precise foam consistency. However, if you can master the perfect pour, it’s a great party trick to show off at your next brunch. So if you’re feeling ambitious and have a home espresso machine and milk frother, it’s worth a try. Don’t worry if you fail, though. In Maile Carpenter’s editor’s letter, the editor-in-chief admits that her attempt ended up looking like a “beach ball with arms.” At the very least, you’ll gain a deeper appreciation for your local baristas and feel better about dishing out close to $5 for a cup of fancy espresso.
Read on to learn which tools you need, how to froth like a pro and the technique for the perfect pour.
- Steam: Many espresso machines come with a steam wand, a nozzle that heats and froths milk with pressurized steam. If you don't have a wand, you can use an electric milk frother, but getting the perfect milk consistency will be a little more difficult.
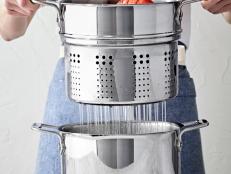
- Frothing Pitcher: A stainless-steel milk-frothing pitcher (available at many kitchenware stores) is the ideal size and shape for steaming and pouring milk.
- Whole Milk: Although lower-fat milk froths more easily, the resulting foam is light and dry, so it ends up floating on top of the espresso — not ideal for latte art. Whole milk produces rich, smooth foam that blends into the espresso. Use cold milk straight from the refrigerator, and never re-steam it.
To create latte art, you need to turn your milk into microfoam, a thick, pourable foam filled with tiny air bubbles. Even the experts have to practice getting the right texture. Here’s how to do it.
- Fill a stainless-steel milk pitcher less than halfway with cold whole milk.
- Place the steam wand on the surface of the milk and let the milk spin in a whirlpool for a few seconds. The liquid will increase in volume — this is called "stretching."
- As the pitcher warms up, lower the wand a bit and continue letting the milk spin in a whirlpool. When the pitcher becomes too hot to touch (between 140 degrees and 160 degrees F), turn off the steam.
- Thump the pitcher on the counter to remove any large air bubbles. Swirl the pitcher to make sure the foam is wet and glossy; microfoam looks like melted marshmallows or wet paint.
The Professional Pour: Park Brannen, a barista trainer at Counter Culture Coffee in New York City, walked Food Network Magazine through the four-step technique for making a classic rosetta pattern.

Tara Donne
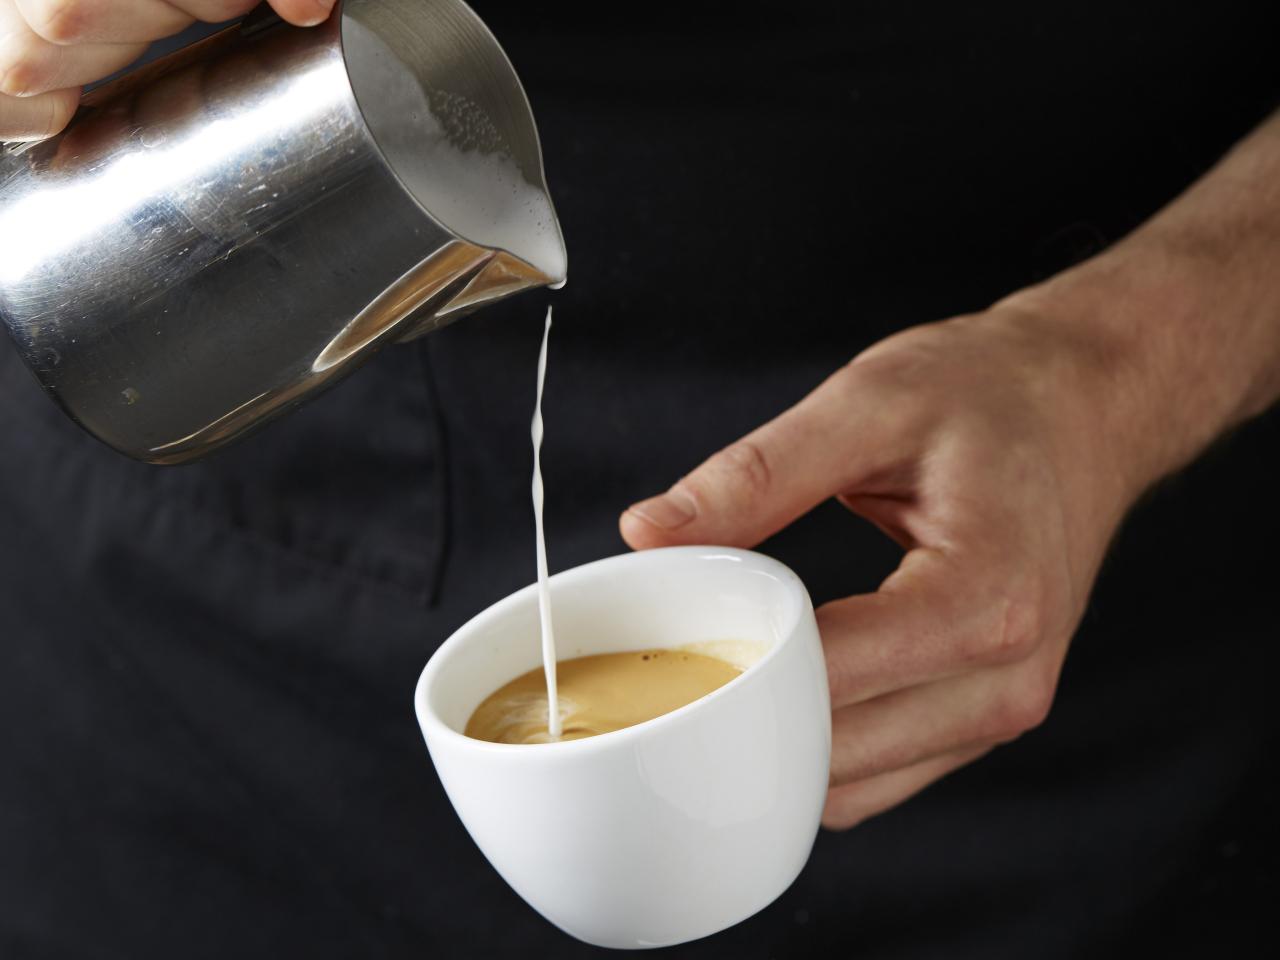
Start high and slow. Place a pitcher of microfoam a few inches above your cup of espresso and slowly pour the foam until the cup is halfway full. The heavy foam should sink below the crema, or top layer of espresso.

Tara Donne
Come down slow. Lower the pitcher so it rests on the rim of the cup and tilt it forward slightly while continuing to pour.

Tara Donne
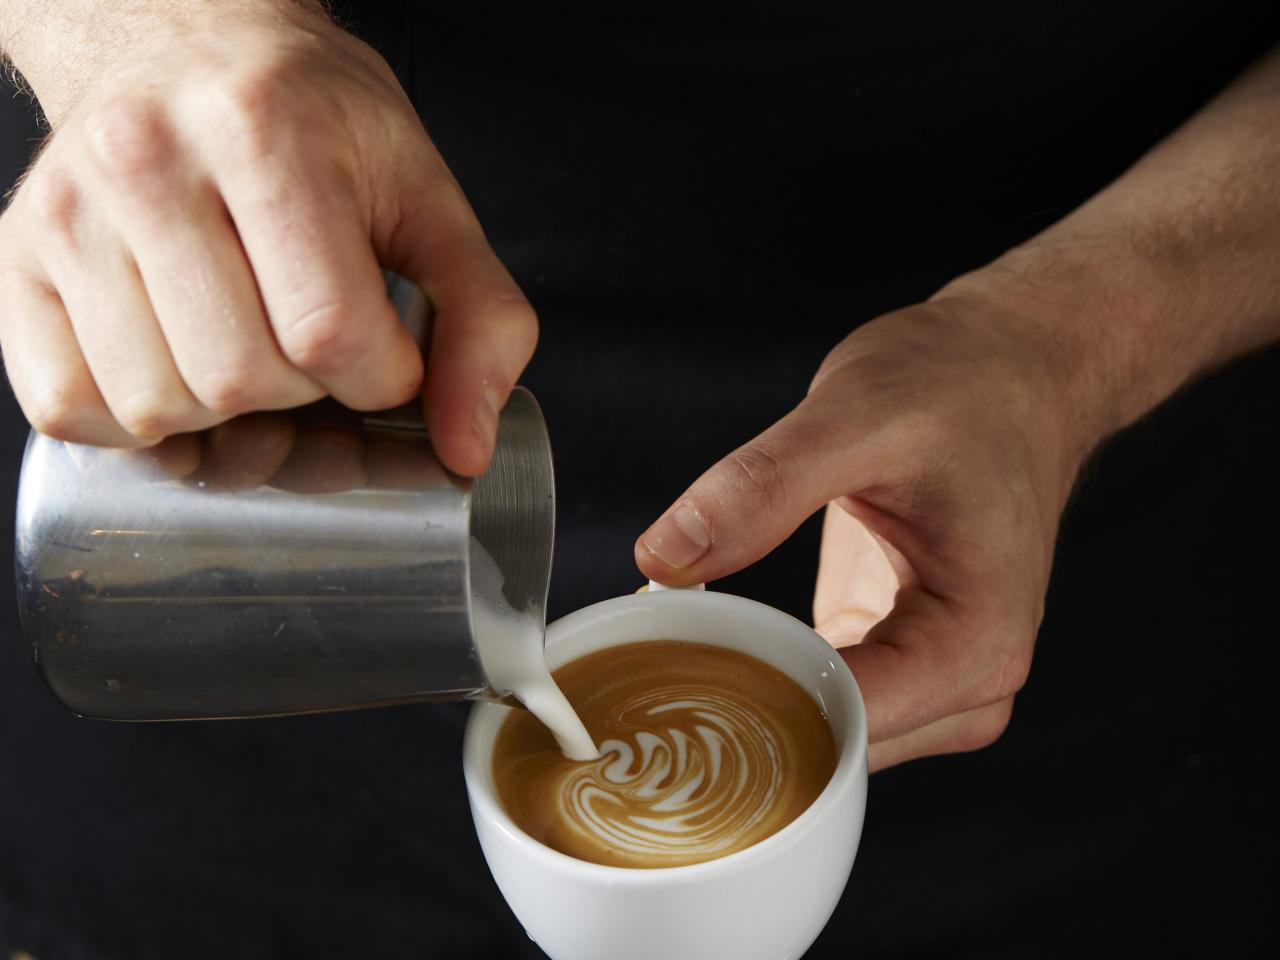
Increase your flow. When the milk forms a white circle on the surface of the espresso, hold the cup in place, increase the flow from the pitcher and gently rock the handle of the pitcher from side to side, moving it slowly across the top of the espresso to make a squiggle.

Tara Donne
Slow your roll. When the squiggly line has reached the end of the cup, slow the stream of milk and raise the pitcher up slightly. Draw a thin line of foam back through the middle of the squiggly line to complete the rosetta.


