


How to Make Frosted Olympic-Ring Cookies


Jackie Alpers, Copyright 2012 Jackie Alpers - All rights reserved
The Olympic rings symbolize peace, goodwill and global solidarity. Get into the spirit of the winter games in Sochi, Russia, by celebrating with these cute and colorful Olympic-ring cookies.
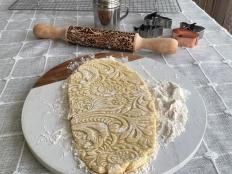
I used my tried-and-true gingerbread recipe after experimenting enough to learn that most sugar cookies, including those made with store-bought premade dough, spread out too much in the oven. Gingerbread also adds a touch of warmth to these games set in a snowy winter wonderland. This recipe is almost as easy to make as with a prepared mix, though it does take a little muscle to roll out. Pressing the dough thin before refrigerating helps to reduce some work later.

Jackie Alpers, Copyright 2012 Jackie Alpers - All rights reserved
To save time, you can use premade icing that comes in squeeze tubes. Buy individual colors or tint small batches from a tube of white with a drop of food coloring (food coloring made with natural dyes is available from a variety of vendors). This Royal Icing recipe from Alton Brown also works well.
Frosted Gingerbread Olympic-Ring Cookies with Jelly Beans
• Icing for decorating (I used Wilton Sparkle Gel and Betty Crocker Decorating Cookie Icing)
• About 1 cup Jelly beans, sorted by color (I used Sugar-Free Jelly Belly beans for the black and Jelly Belly Sours for the other colors).
Line a 9-by-9-inch baking pan with plastic wrap. In a saucepan, melt butter over low heat. Add sugar, corn syrup and milk and whisk continuously until the mixture's temperature reaches 100 degrees F, which will happen rather quickly. Remove from heat.
With an electric mixer on low speed, combine bread flour, baking soda, spices and salt. Slowly pour the butter mixture in and beat for 2 minutes until thoroughly combined. Transfer batter into the prepared pan, cover with plastic wrap and spread it out to the sides of the pan by pressing with your hands so it's easier to roll out later. Refrigerate overnight or up to 3 days.
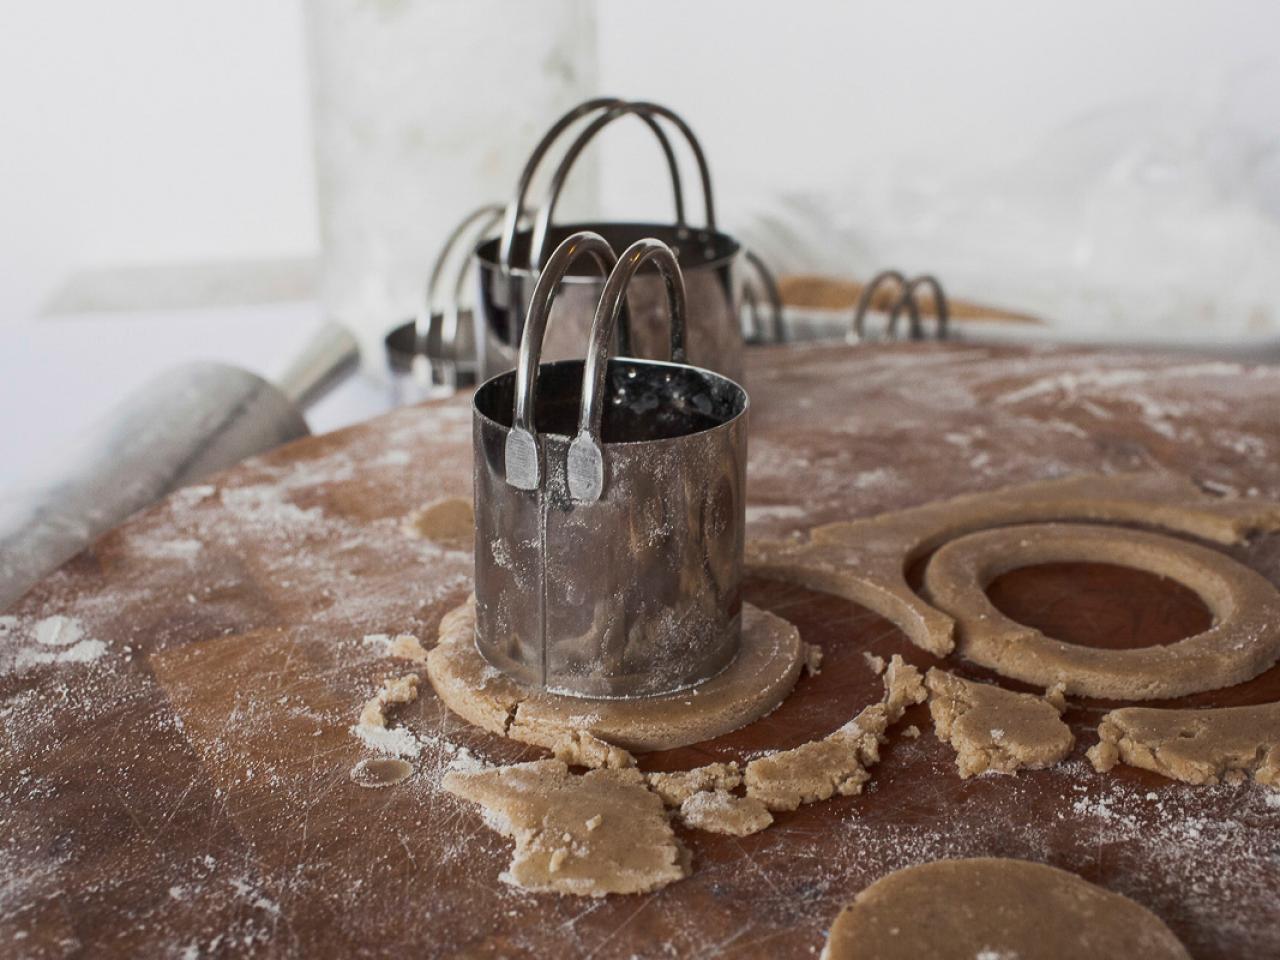
Preheat oven to 350 degrees F. Coat several baking sheets with cooking spray or line with parchment paper. Cut chilled dough into 4 equal pieces.

Jackie Alpers, Copyright 2012 Jackie Alpers - All rights reserved
On a lightly floured work surface, roll out 1 piece of dough to a thickness of 1/4 inch; dust with more flour as needed. (Keep other dough pieces refrigerated until you're ready to use them.) Using 2 different-sized biscuit or cookie cutters, cut out concentric circles of dough, leaving a ring that is 1/2 inch wide. The cookies shown are about 2 inches across but you can make them larger or smaller based on the size of the cookie cutter you’re using. Place the rings about 1 inch apart on the prepared sheets. Repeat with other pieces of dough.
Bake smaller cookies for 10 to 12 minutes and larger cookies for 15 minutes, or until slightly browner on the edges and firm to the touch. Cool sheets on wire racks for a couple of minutes before using a metal spatula to transfer cookies directly onto the racks to finish cooling.
Squeeze icing onto each cookie, leaving a thin border around the edges. Press jelly beans end-to-end into icing while still wet. The icing will spread to cover the cookie. Store in an airtight container for up to 2 weeks; if decorated already, stack them between sheets of wax paper.
Tip!: To make the cookies stay overlapped when you serve them, slightly squish a jelly bean and place it under the bottoms of the 2 lowest cookies for support.
Jackie Alpers is an award-winning food photographer and the author of Sprinkles!: Recipes and Ideas for Rainbowlicious Desserts (Quirk Books 2013).


